In this article, we'll explain how you can save a credit card for a specific client contact or project that can be used for future charges.
Scaleit Pay
In order to store credit cards on file, you will need to signed up for Scaleit Pay. If you are unsure or have not set up Scaleit Pay for your business, give us a call today to get started on that process!
Adding a Card
A card can be added to two different entities in Scaleit W8: Client Contacts or Projects. Each of these methods will function the same on charging the card when checking out a client. However, where you add them is a bit different.
1. Add a card to Client Contact
1. Add a card to Client Contact
To get started, open up the Accounts selector by click the icon label 'Accounts' in the menu at the top of the home screen.

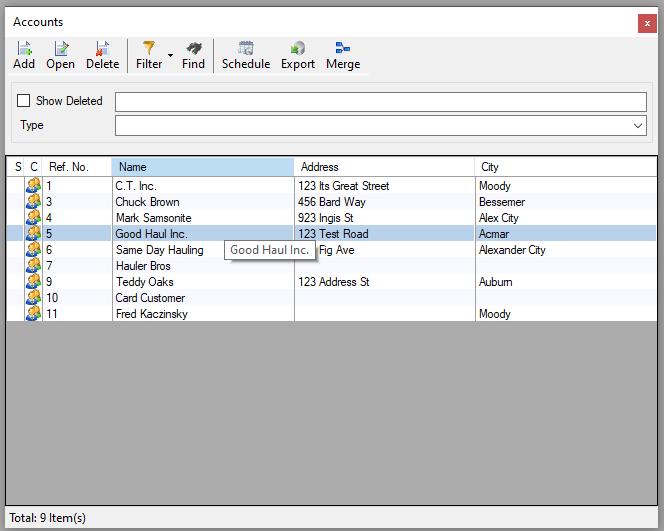
With the Accounts selector open, double click on the an account you would like to add a credit card to!
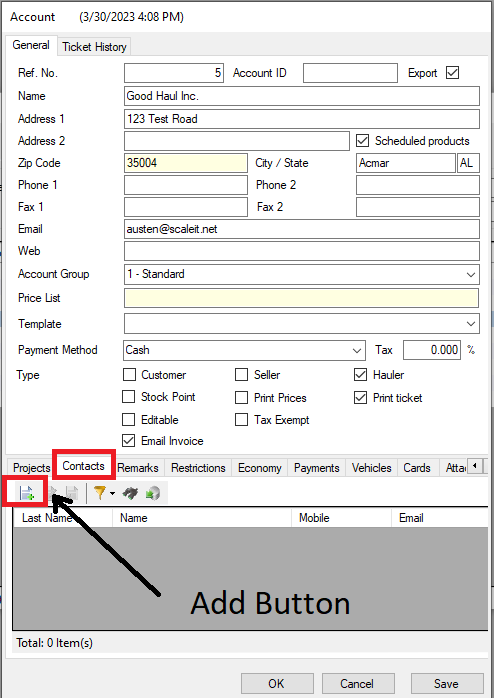
Once the client editor opens, change the tab at the bottom of the pane to 'Contacts'. And click on the Add button. If you already have a client contact created, double click the contact you would like to add the card on.
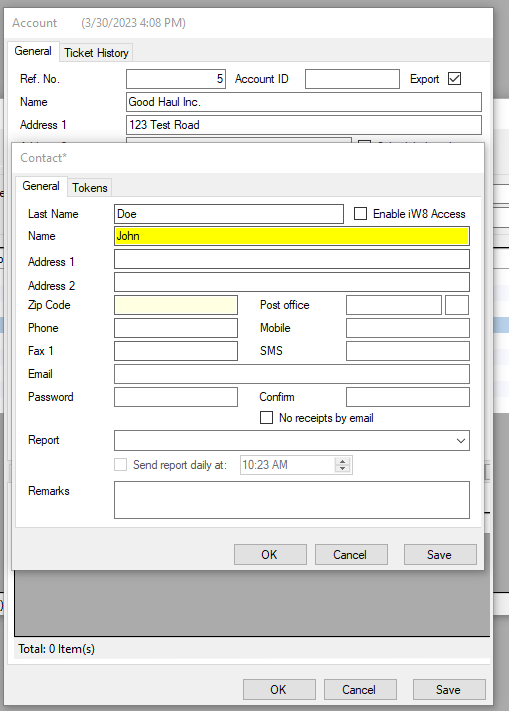
Fill first and last name of the Contact, this should match the holder of the card. Any additional information is welcome but not necessary!
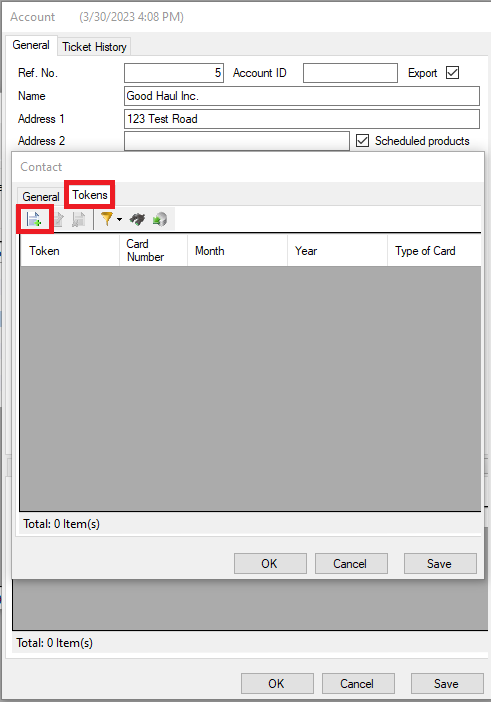
Press Save after you have the name filled out. Then click on the Tokens tab on the top of the Client Contact pane. Click on the add button in the Token tab to begin saving the card.
When the Scaleit Pay window appears, click on add card to file to begin the process. In the subsequent window you will want to fill out the following information:
- Add card to: Client Contact
- The Client: In our example, Good Haul Inc.
- The Client Contact we just created: John Doe
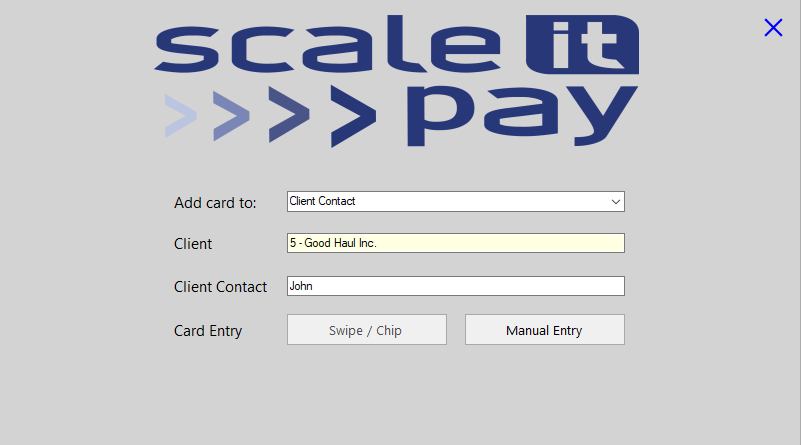
After this information is filled in, you should see Card Entry selections appear. Jump to finalize card entry section to continue the tutorial.
2. Add Card to Project
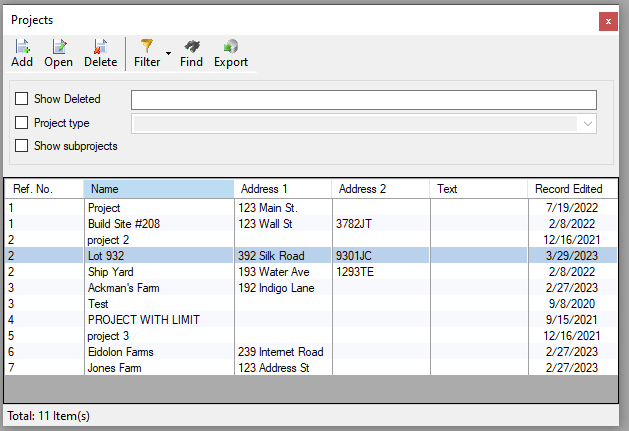
To get started, open up the Projects selector by clicking the icon label 'Projects ' in the menu at the top of the home screen.

With the Projects selector open, double click on the an project you would like to add a credit card to!
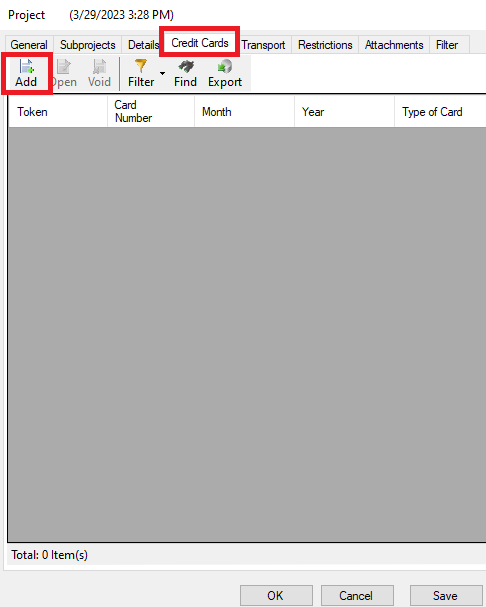
Once the project editor opens, change the tab at the top of the pane to 'Credit Cards'. And click on the Add button.
When the Scaleit Pay window appears, click on add card to file to begin the process. In the subsequent window you will want to fill out the following information:
- Add card to: Project
- The Client: In our example, the project in question belongs to Chuck Brown.
- The Project: Lot 932
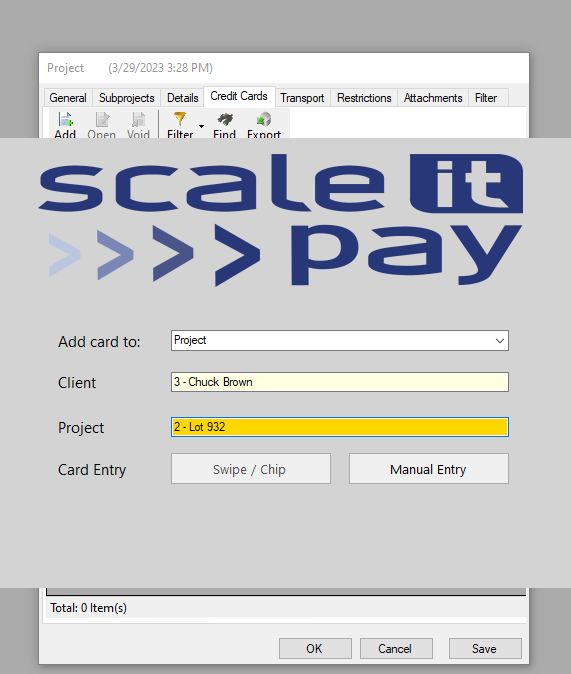
Next we can finalize our card information by clicking manual entry.
3. Finalize card entry
Note the Swipe / Chip will only work with IDTech devices. Choose Manual Entry otherwise. After clicking on Manual, fill out name and zip on the card, press submit. Then fill out the card information; press get token! There may be a captcha as well to fill out after, please ensure to do so!
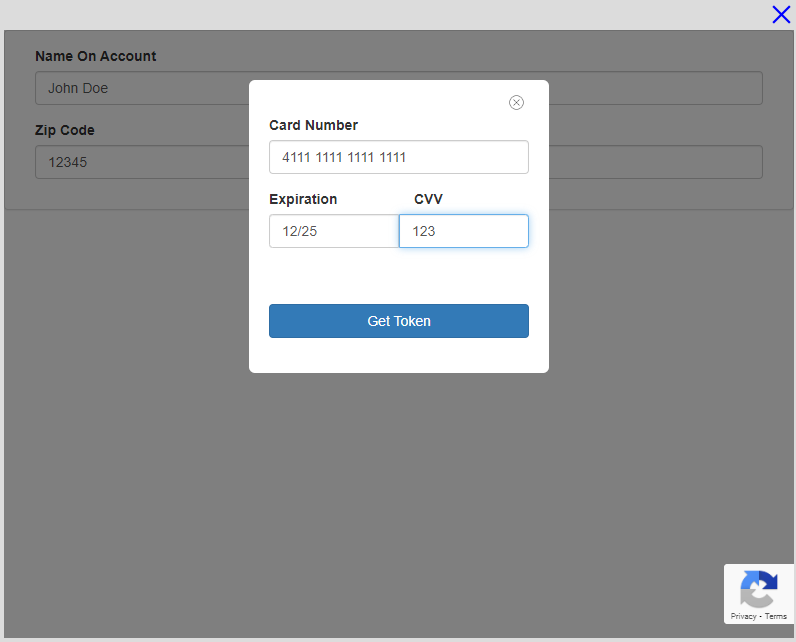
After completing that step, you are ready to add the card. Press 'Add Card' at the bottom of the screen to complete the process.
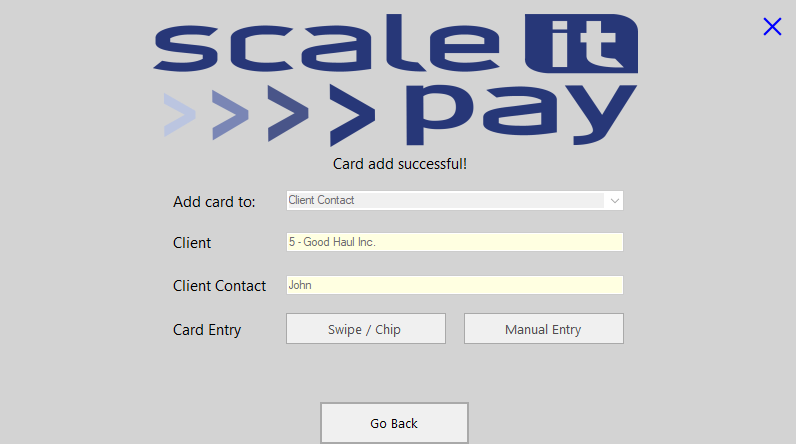
Press 'Go Back' or the 'X' in the top right corner to get back to the Tokens pane on the Client Contact. Press the binoculars icon to refresh the list.
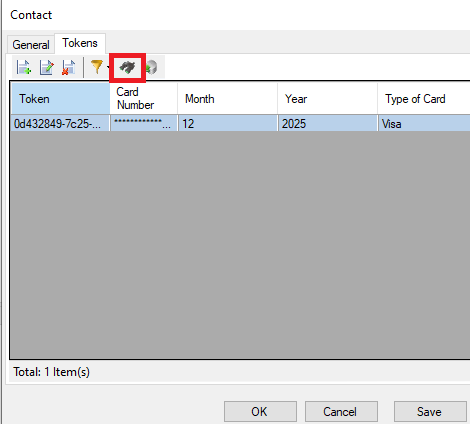
There you have it! You have successfully added a card on file to be used in future purchases. Check out our other guides on credit card processing.
If you have any issues with this article, please reach out to our support team!
