
In this article we will cover the various options available to add or remove to you Ticket Layout. Allowing you to collect different data points on each ticket.
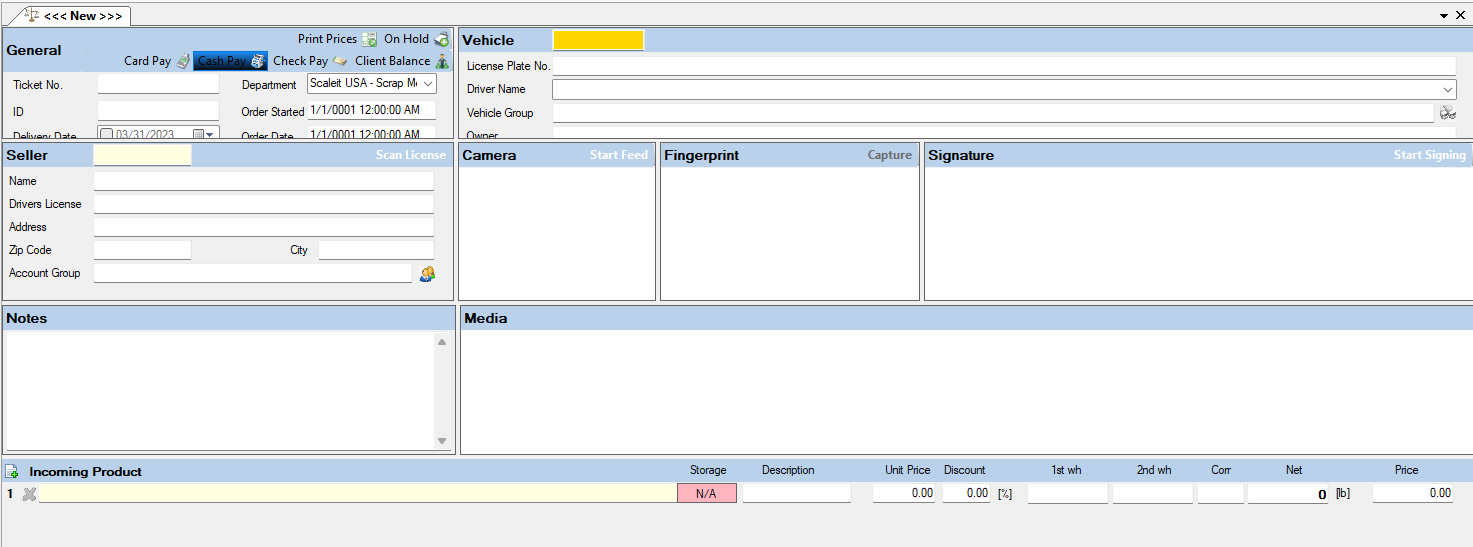
In Scaleit W8, you can adjust the items or tiles that the user can collect on a per ticket basis. These layout can then be saved by Department, User, or Machine (PC). Giving you the ability to collect different data points for various areas of your business. The software comes with pre-loaded with 4 main layouts (pictured below) for Recycling, Aggregate Facilities (Entrepreneur), Landfills (Waste) and Farms (Agricultural). Each tile (Vehicle, Seller, Customer, Signature, etc.) can be moved\removed\resized or a different one added based on the data you need to collect.
Recycling \ Scrap Yard
Aggregate
Agricultural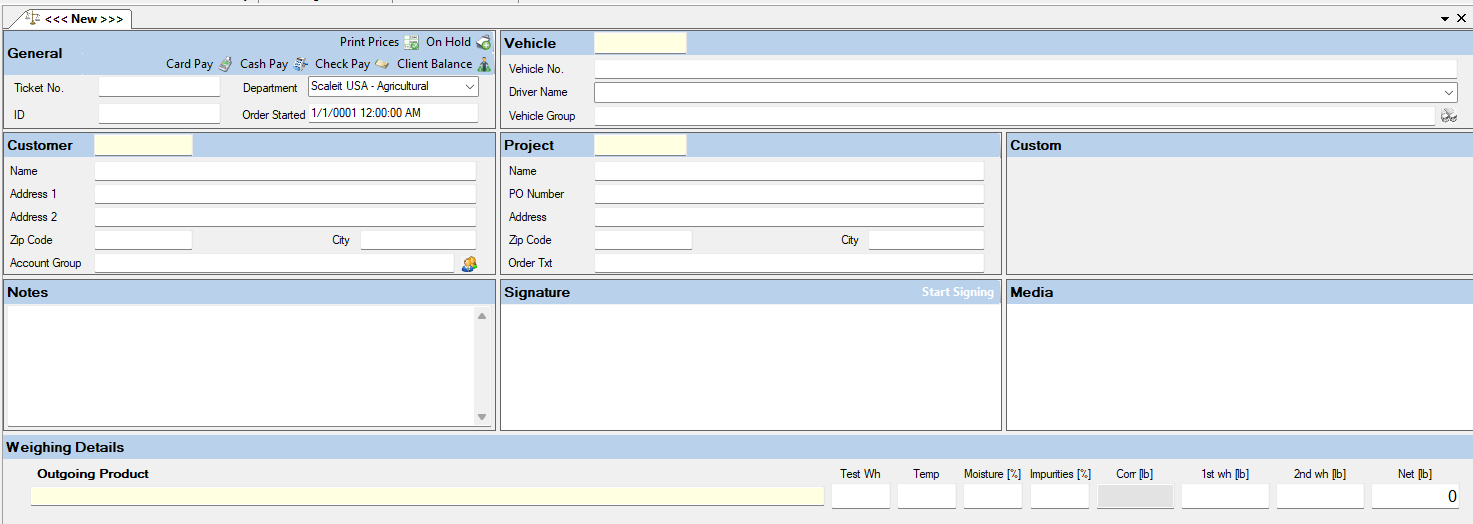
Waste\ Landfill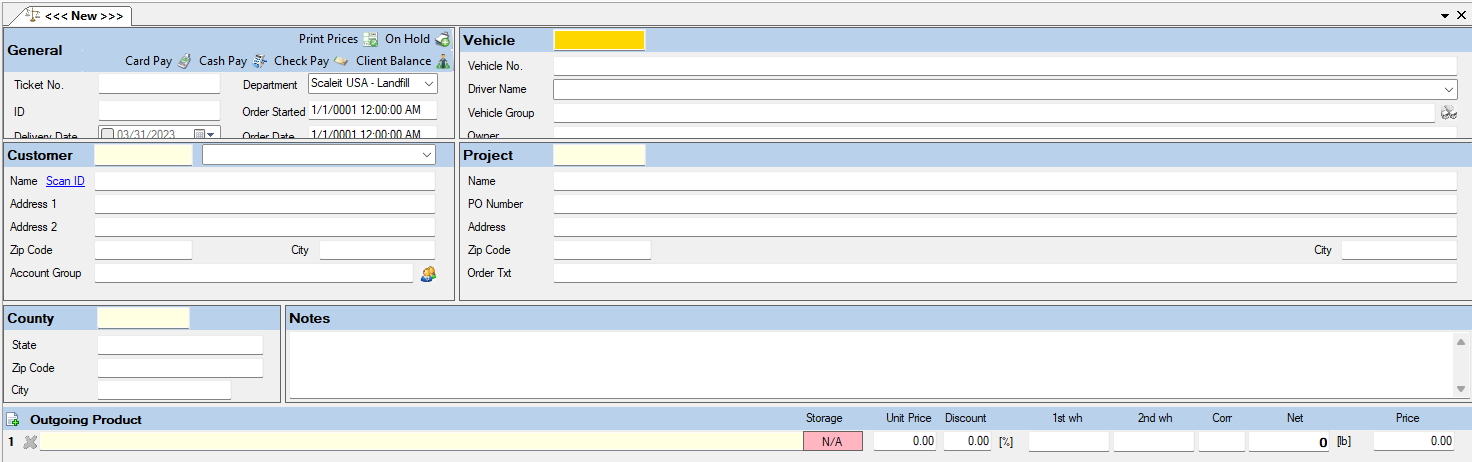
How to Change Your Layout
Please follow the below steps to adjust your ticket layout.
1. Login as an Administrator User.
2. In the top Menu Bar, go to Settings -> Advanced -> Admin -> Weighing Layout: 3. Click Weighing Layout - This will load a black Grey Screen that says "Right click for menu".
4. Go ahead and right Click and Select -> Load Layout from Database.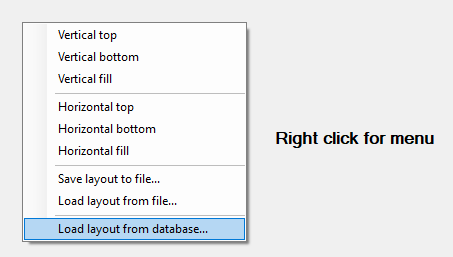 5. That will open a new menu to select the layout you wish to edit. (Entrepreneur = Aggregate)
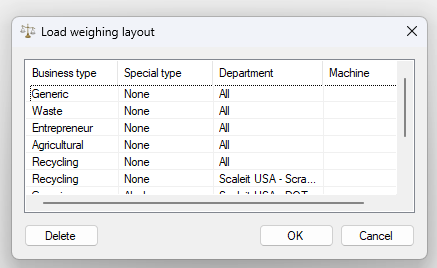 6. Double Click on the Business Type you wish to edit. That will load your current layout.
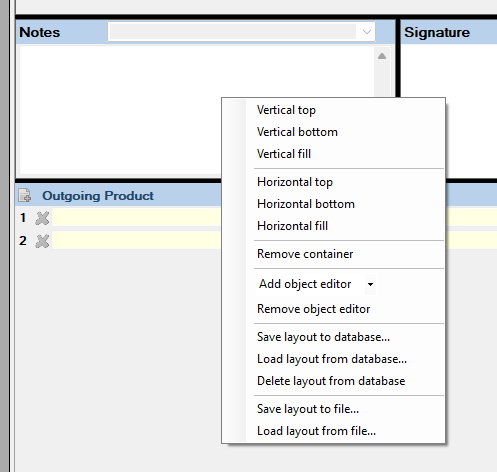
7. Once that layout loads, you can right click on the different tiles. That will provide you with options for that tile (image below is a right click on the Notes Tile).
8. If you wish to replace that tile with another, click on "Add object editor" drop down. This will load a list of available Tiles to replace the current one.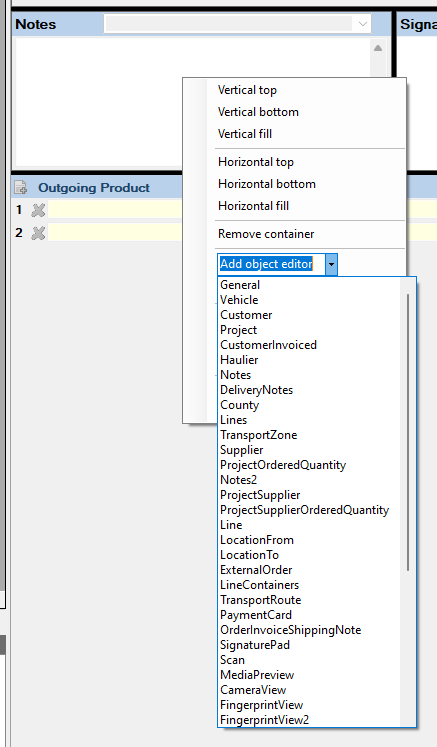 9. Other options include:
- Remove Container - This will remove all tiles that are included in the current container.
- Remove Object Editor - This will remove the current tile.
- Horizontal \ Vertical Options - These options will allow you to build walls or containers to add different tiles or objects into them. (Image below is a Vertical Fill with a left side Horizontal Fill on the Notes Tile) 10. When done adjusting your layout. Right click, and click 'Save Layout to Database'. Then double click on your Business Type. That will save your new layout to that specific Business Type.
  11. Another option is to create a 'New Layout'. This will let you choose your Business Type and assign a specific Department to it. (ie you have two departments with the same Business Type). Or you can assign it to a Specific Machine. This drop-down will auto-populate with the Machine Name you are currently on.
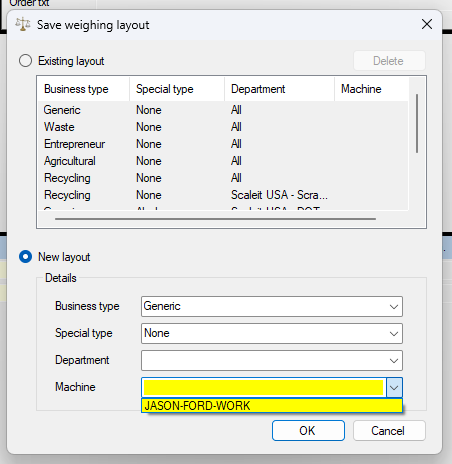
Troubleshooting & Tips
Here are a few items to note if you run into issues.
1. If you save the layout to your Business Type, but when you start a New Ticket it does not load. Please go to Settings -> Parameters and make sure your 'Main Business Type' is the same as the one you saved your layout to. 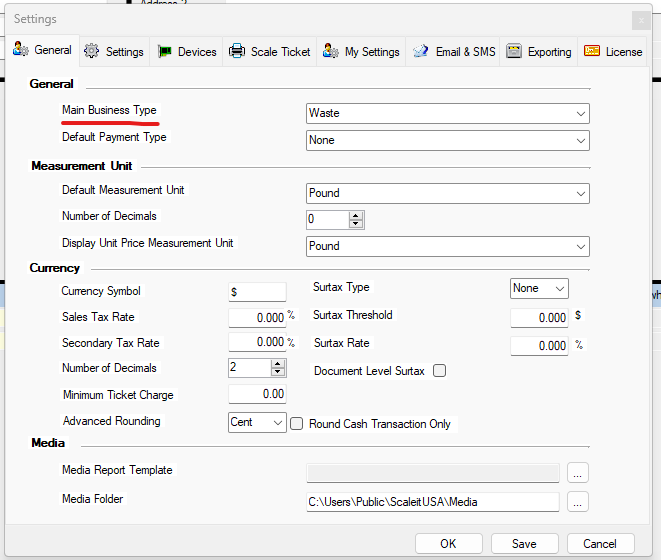
2. If you make a mistake on the Layout setup, please just close out that ticket window and start back from Scratch. Nothing is saved until you actually 'Save to Database'.
3. If you are designing a new layout on a different PC\Network from the one you actually wish to put the layout on. Instead of saving the layout to the database, you can choose, Save to File. This will let you write the layout template to a file and then move that file to the PC you wish to upload it to. In that case you would then Load from File to load the layout and then Save to Database on that PC. 