
This article will help you learn and understand how to enable, create, manage, rename, delete/restore, assign tickets, and run advanced inventory reports.
How to enable Advanced Inventory
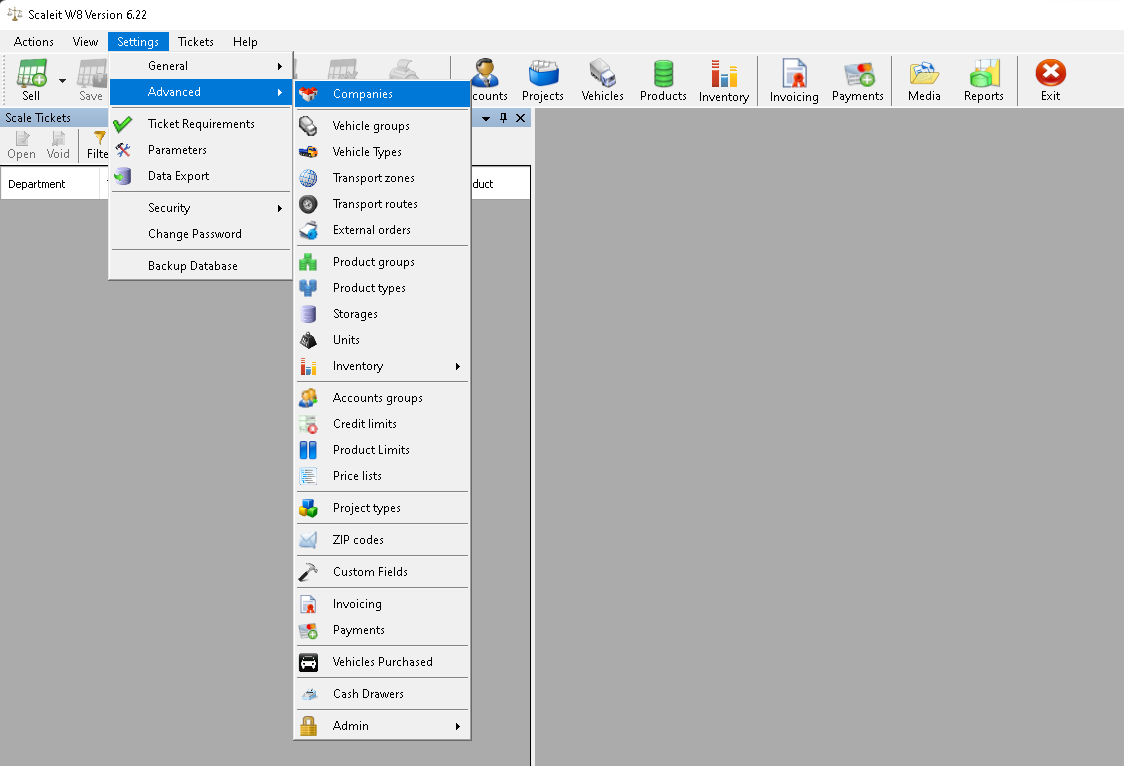
To enable advanced inventory navigate to Settings -> Advanced -> Companies.
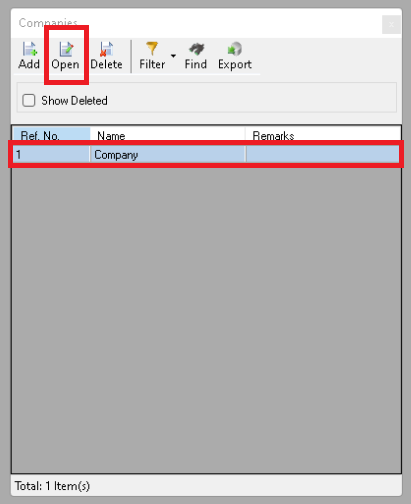
This will bring you to the companies window. Here select the company by double clicking or selecting the company and clicking open.
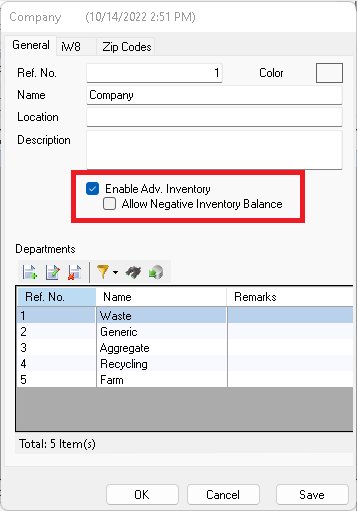
After opening the company you should be able to see all the departments. Here click 'Enable Adv. Inventory', this will enable advanced inventory. It is also a good option to enable 'Allow Negative Inventory Balance'. If 'Allow Negative Inventory Balance' is not enabled the software will not let you finish tickets that would bring your inventory into the negative stock.
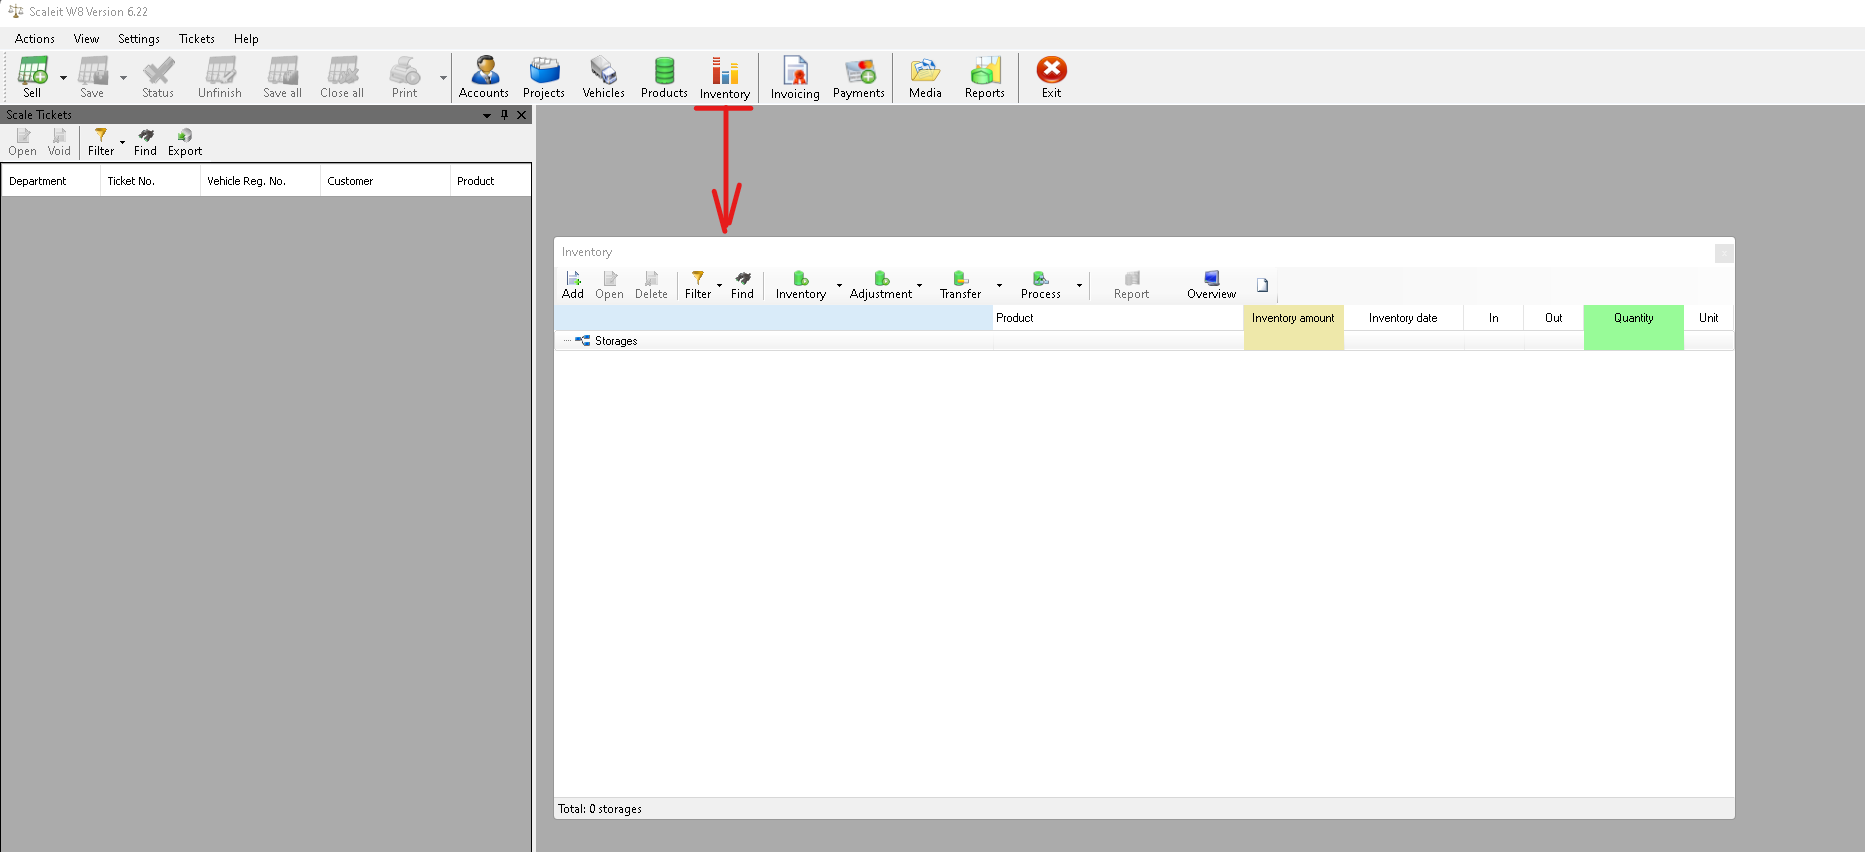
Now you should be able to open the advanced inventory using the Inventory button on the main screen or under Settings -> Advanced -> Inventory -> Advanced Inventory.
How to create Advanced Inventory storages (Auto Add, Manual Creation)
Auto add using 'Add to Advanced Inventory' feature
Version 6.20 and higher have the 'Add to Advanced Inventory' feature on the product editor window.
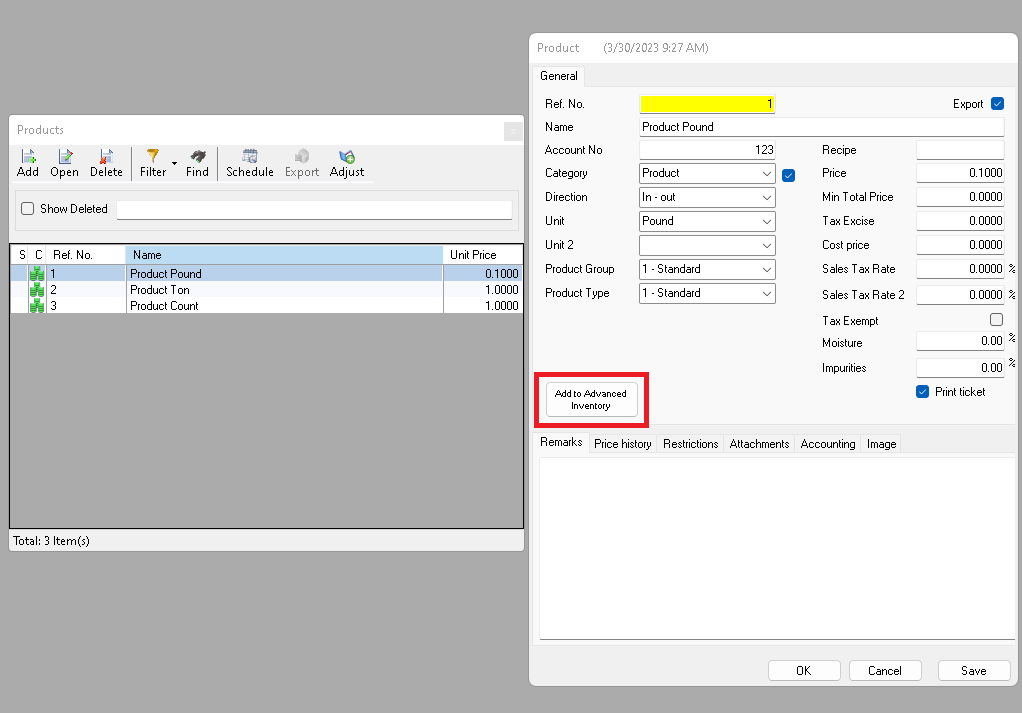
If you like to add the product to inventory click the 'Add to Advanced Inventory' button and follow the steps.
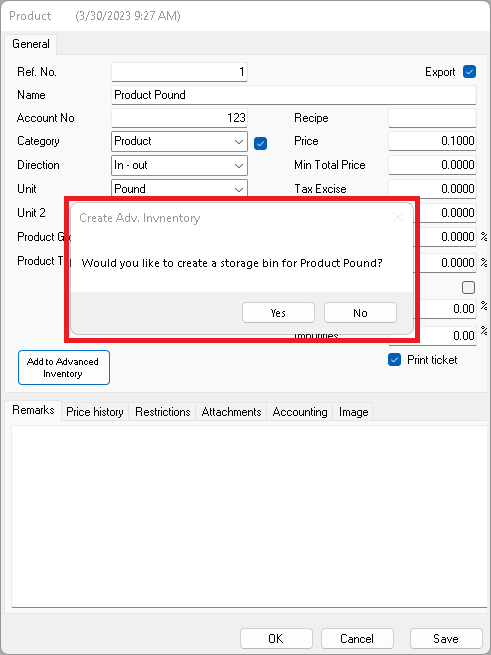
If no storage associated with this product exists it will prompt for confirmation and create a storage named after the product.
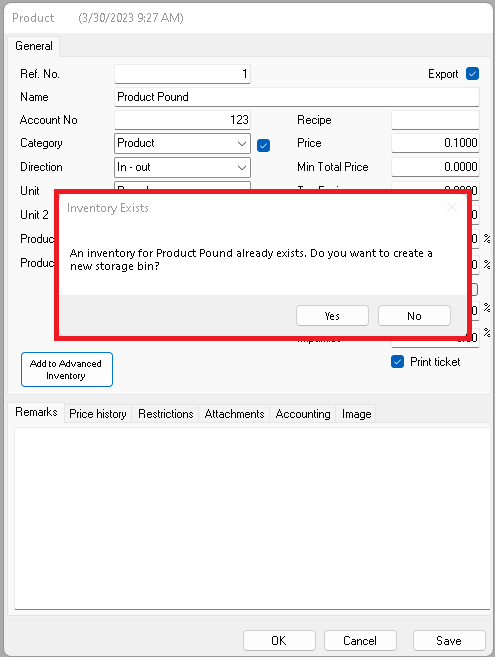
If a storage associated with this product exists the software will notify you and prompt if you want to proceed.
If you click yes, it will ask for a storage name. If no, it will cancel the process.
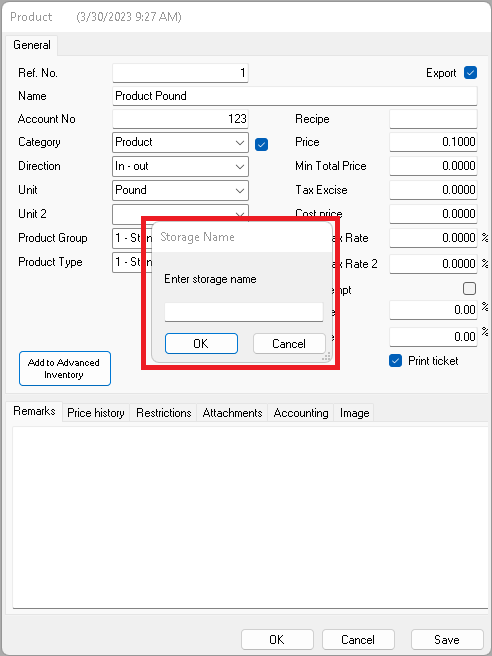
*This is the last chance to cancel before creating.
Enter your storage name and click 'OK'. The software should create the new storage and display a successful message.
Manual Storage Creation
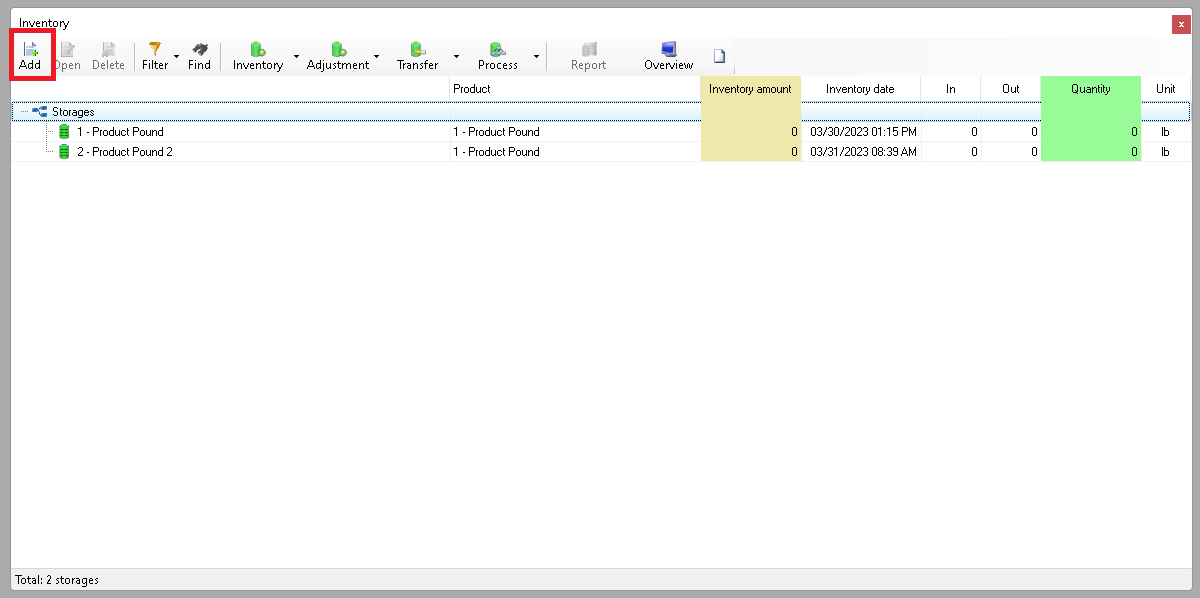
To create a storage manually, open the Advanced Inventory window and click Add.
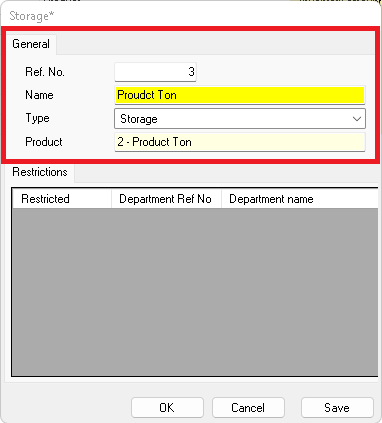
After clicking open it will display the storage creation window, here enter the storage name, strongly suggest keeping 'Storage' as Type, and select your product. Once everything is filled out, click save.
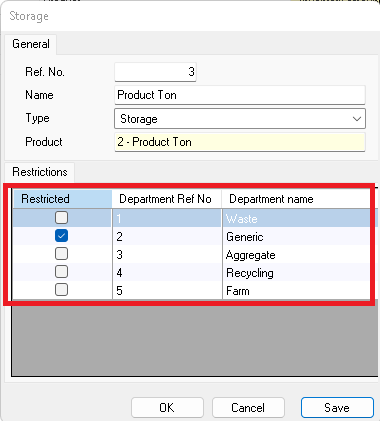
Now it will give you the option to restrict other departments from using the storage.

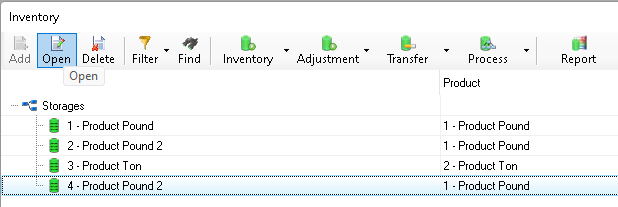
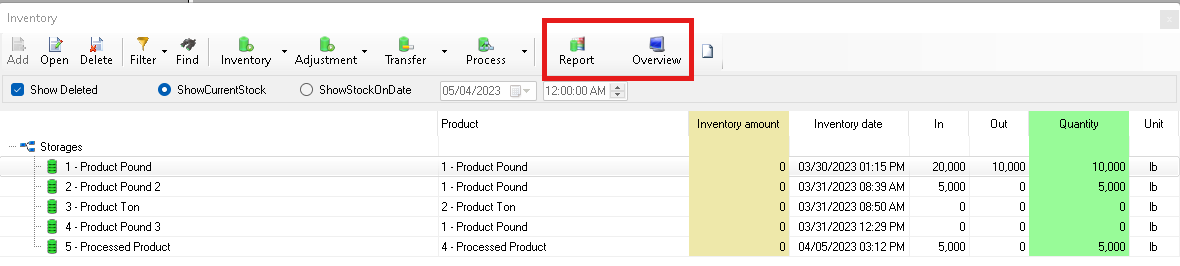
After creating storages using the auto add or manual creation they should be displayed in the main inventory window.
Quick explanation on columns:
'Inventory Amount' is the starting amount, how to set this will be explained in the manage section.
'Inventory Date' displays the date and time from which tickets will be tracked.
'In' displays the amount of Incoming tickets.
'Out' displays the amount of Outgoing tickets.
'Quantity' displays the net weight of storage ('Inventory Amount' + 'In' - 'Out' columns).
'Unit' will display the weight unit (currently 'Unit' will be whatever your basic measurement unit is, storage reports can be modified to display whatever unit you need).
How to manage Storages (Inventory, Adjustment, Transfer, Process)

This section will cover the use of Inventory, Adjustment, Transfer, Process, Editing, and Deleting entries.
Inventory
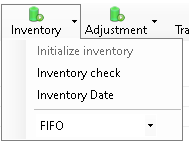
The Inventory has 2 buttons to focus on 'Inventory check' and 'Inventory Date'.
Inventory Check
Inventory Check will let you reset the storage and still keep the old records.
To open this window select a storage and click Inventory -> Inventory check.
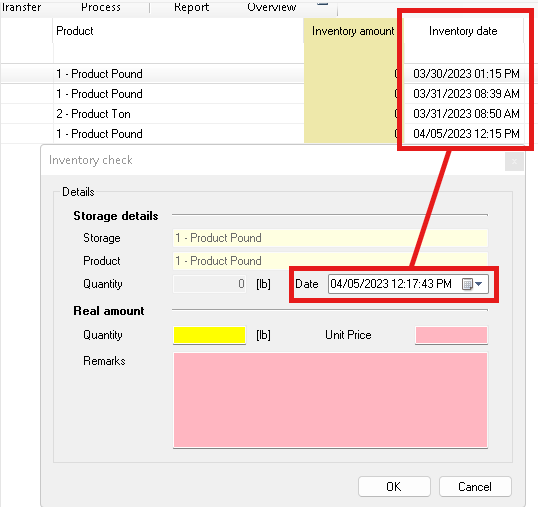
Set the Date to which ever date you would like this storage to start tracking tickets.
(Note: Advanced Inventory only tracks tickets that have a storage assigned to them)
Set the quantity that you would like the storage to start off with being reflected in the Inventory amount column in the main screen.
Set the Unit Price.
Add any remarks you would like to be associate with this entry.
(Note: Red fields are required)
Inventory Date
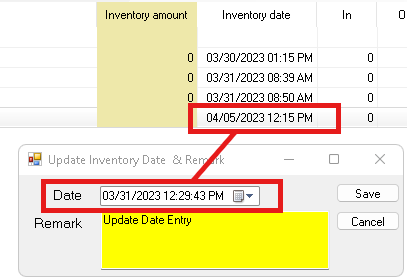
To open this window select a storage and click Inventory -> Inventory date.
Inventory Date will let you update/edit the latest Inventory checks 'Inventory Date' entry you made, for example, in the image you can see the 'Inventory Date' is currently '04/05/2023 12:15 PM' for the storage and the new date will be '03/31/2023 12:29 PM'.

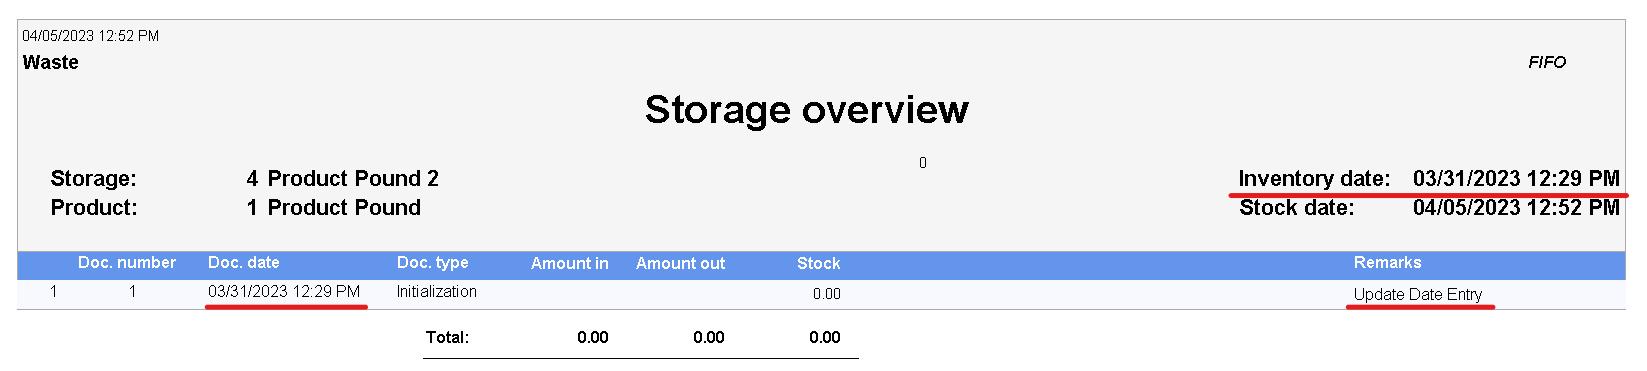
After confirming with the save button we can see the value has updated in the main window and on the report.
Adjustment
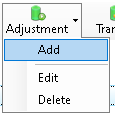
Adjustment has 3 options, this section will cover the Add button (click one for more info Edit, Delete).

To open this window select a storage and click Adjustment -> Add.
This window will display the current storage name, product, and current quantity.
Set a Date and time that you want this adjustment to show up on reports.
Select the direction of the adjustment, are you adding (In) or subtracting (Out) from the storage.
Set the Quantity, Unit Price, and Remarks. At the bottom it will display the results of this adjustment to confirm the values.
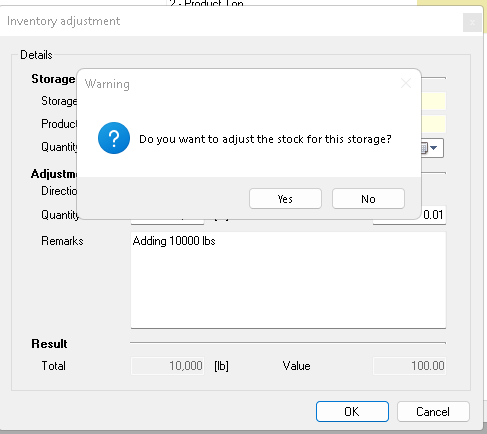
After clicking 'OK' it will ask you to confirm the adjustment.

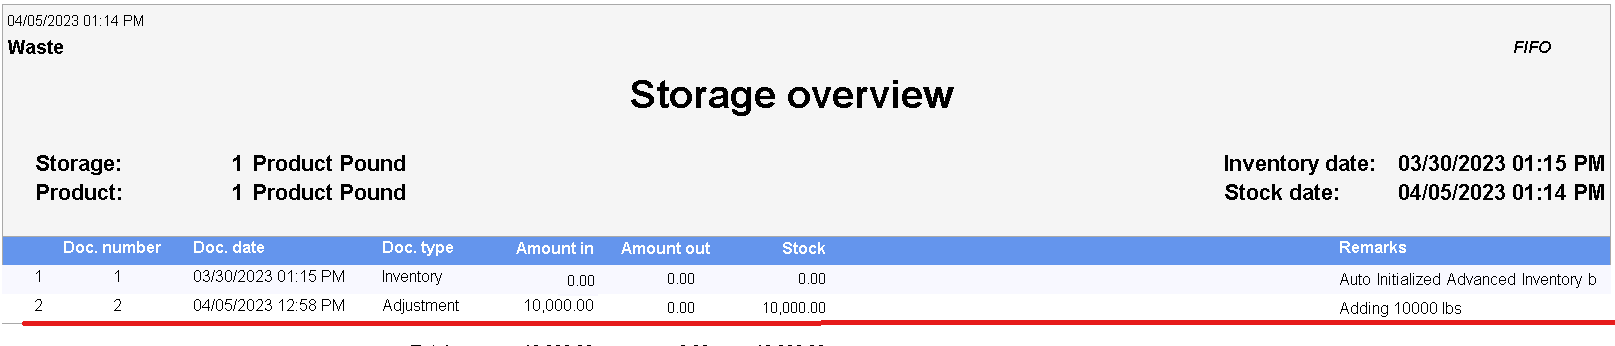
After you confirm you can see the changes in the main window and the report.
Transfer
Transfer has 3 options, this section will cover the Add button (click one for more info Edit, Delete).
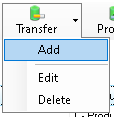
To open this window select a storage and click Transfer -> Add.
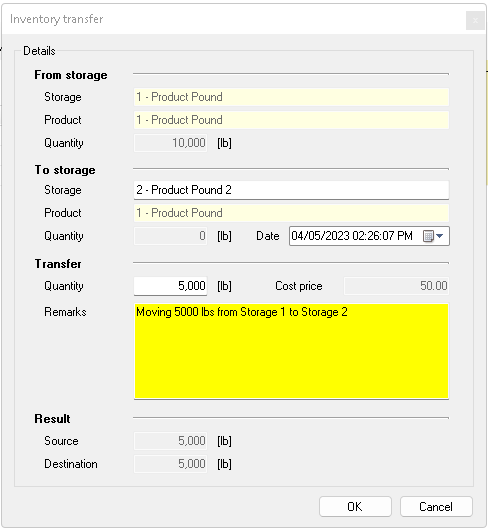
This window will display the storage the product is coming from and the quantity the storage has (From storage).
The storage the product will be transferred to and the current quantity (To storage).
Under the Transfer section you will be able to enter the quantity to be transferred and a remark.
At the bottom it will display the results of the transfer.

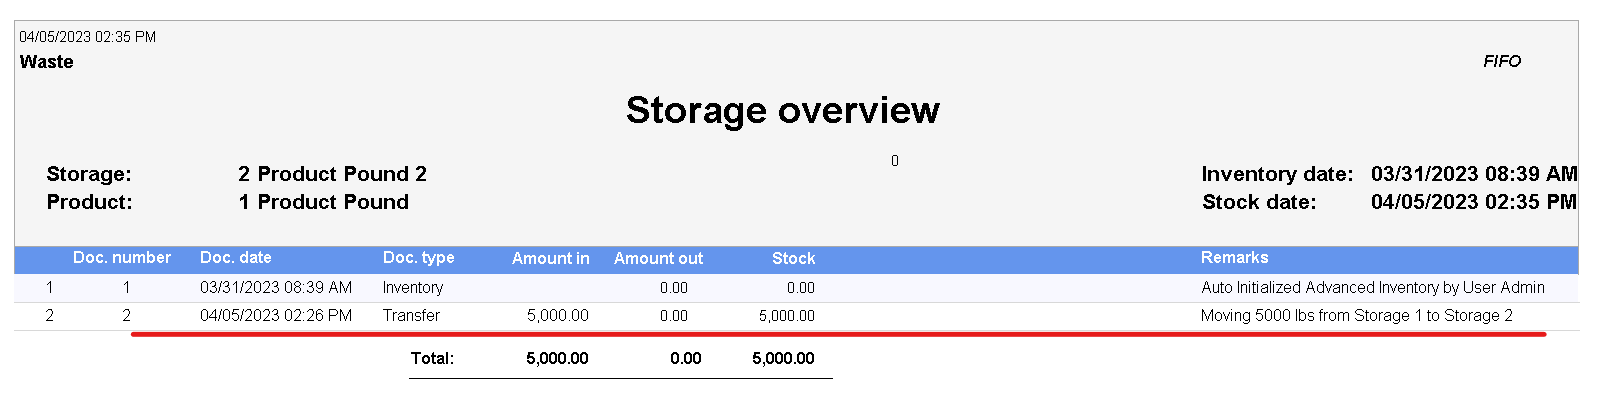
After you confirm you can see the changes in the main window and the report.
Process
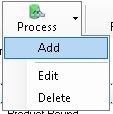
Process has 3 options, this section will cover the Add button (click one for more info Edit, Delete).
To open this window select a storage and click Process -> Add.
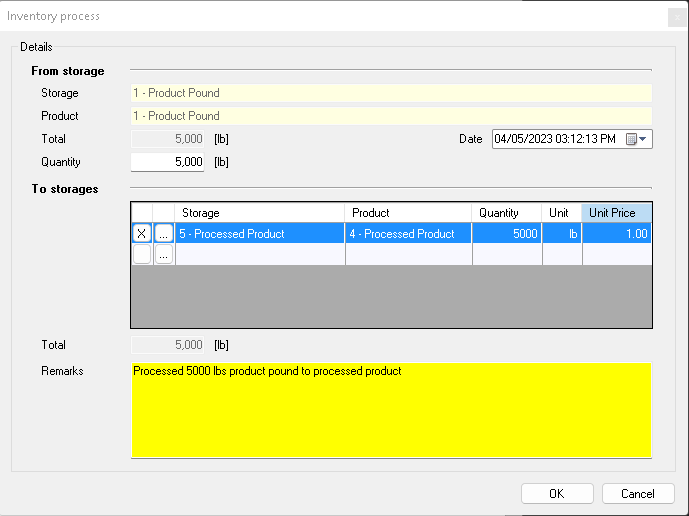
In this window you will see the product you will be processing under 'From storage', the current quantity in the storage. You will be able to set the date and quantity.
Under 'To storage' you will be able to add all the storages that will receive product from processing. Lastly you will set the remarks as in previous sections.

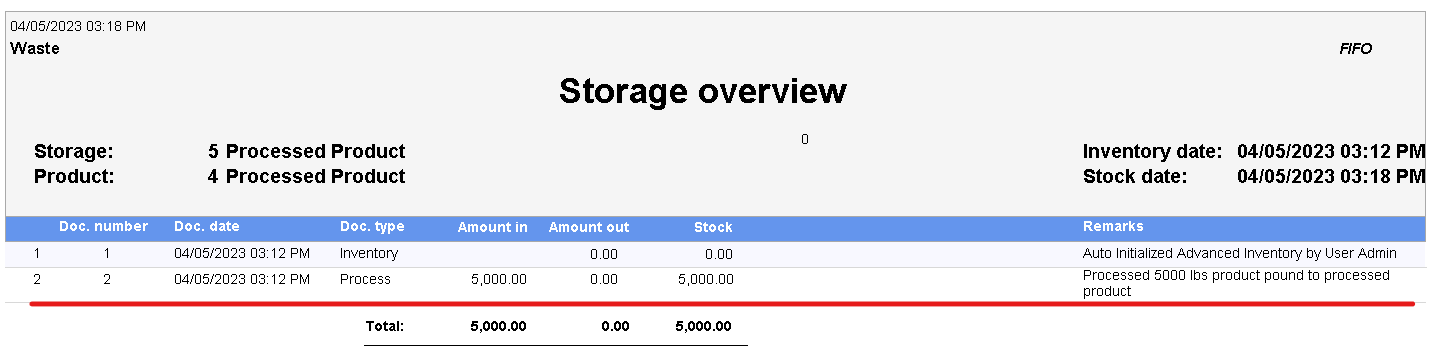
After you confirm you can see the changes in the main window and the report.
Edit
All 3 options (Adjustment, Transfer, and Process) have the option Edit and work the same.

To open the Edit window select a storage and select one of the options (Adjustment, Transfer, Process) and click Edit.
When the window opens you might have to adjust the size to see all the columns.
Columns are shaded 2 different ways light and dark, light columns can be edited and dark columns can not.
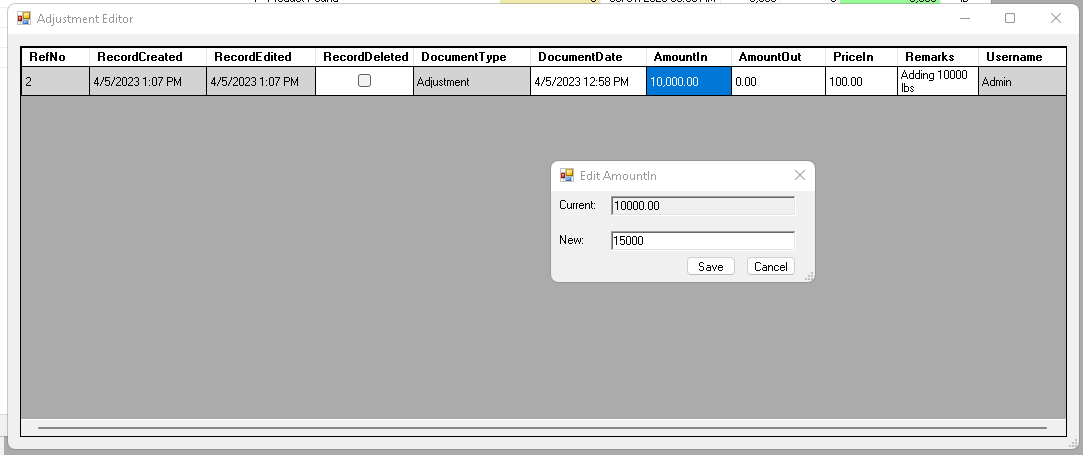
To edit a field double click a field and the editor will open and display the current data and ta empty field to enter new data.
In this example we are editing the 'AmountIn' value from 10 000 lbs. to 15 000 lbs.
Once you are done click 'Save'.
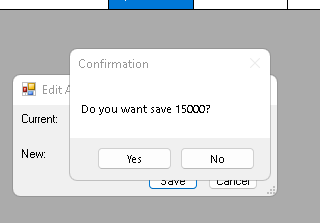
After clicking 'Save' you will need to confirm.
The 'RecordEdited' column should be updated with the new date and time of the edit and the 'User' should reflect the user that made the change.

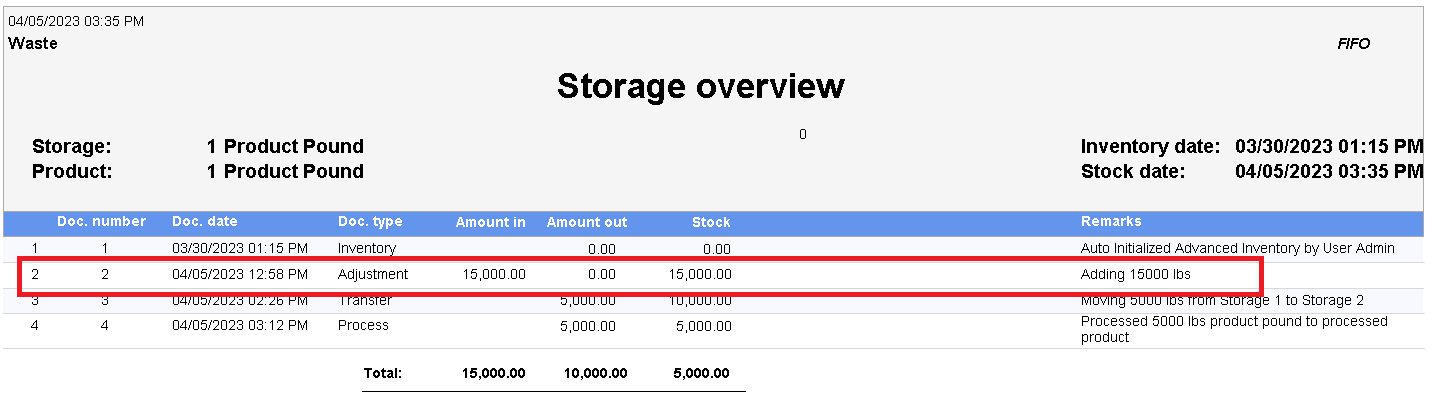
After you confirm you can see the changes in the main window and the report.
(Note: Edits on Transfers and Process will have to be done on the 'From storage' and 'To storage' entry)
Restoring Entries
The second use of the edit window is to restore deleted entries.

To restore an entry, open the Edit window. Any row marked red should have 'RecordDeleted' column checked.
To restore the entry double click the checkbox.
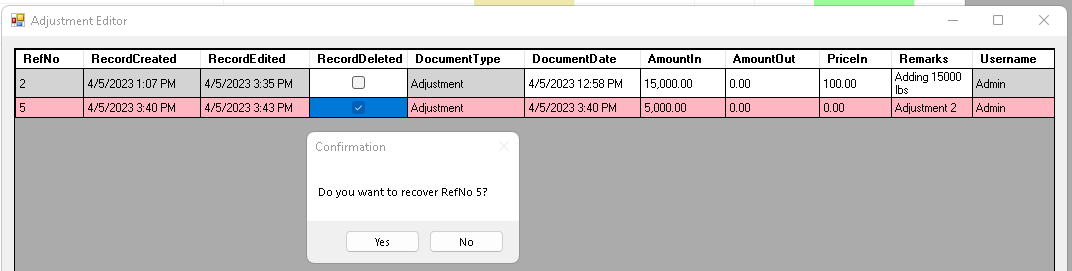
After doing so it will open a window asking to confirm the restoration.

If you click yes the row should look normal again.
The 'RecordEdited' column should be updated with the new date and time of the edit and the 'User' should reflect the user that made the change.
Delete Adjustment, Transfer, Process Entries
All 3 options (Adjustment, Transfer, and Process) have the option Delete and work the same.
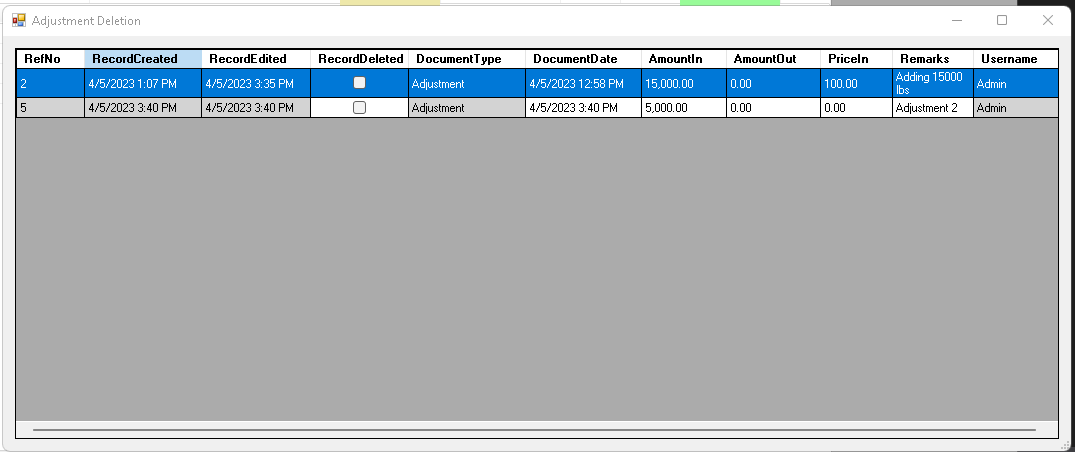
To open the Delete window select a storage and select one of the options (Adjustment, Transfer, and Process) and then click Delete.
This windows will let you delete entries that are no longer needed or were created by mistake.
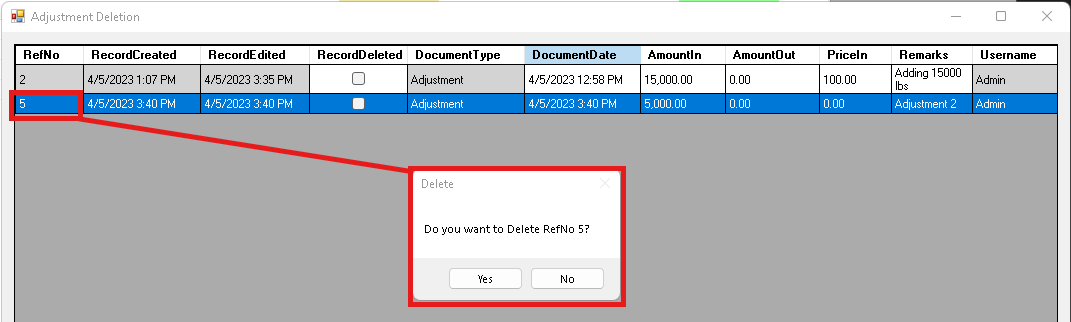
Double click the entry you would like to delete and a window should appear asking for confirmation.

After you confirm you can see deleted entries marked red.
The 'RecordEdited' column should be updated with the new date and time of the edit and the 'User' should reflect the user that made the change.
Rename Storages
Select the storage you want to rename and click 'Open' or double click the storage.
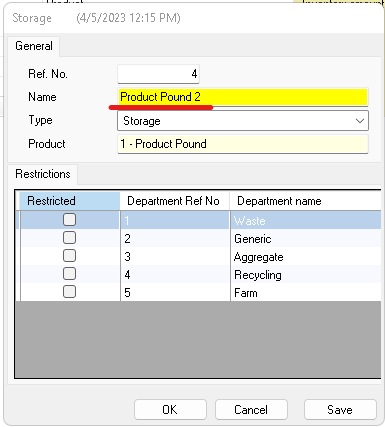
Now you can adjust the 'Name' and 'Ref No.'
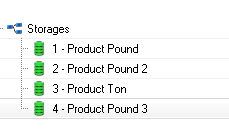
After changing it to 'Product Pound 3' for this example and confirming the main window will update to reflect the change.
Delete and Restore Storages
How to Delete Storages

To delete a storage, select the storage and click Delete.

After you confirm the list will update the the deleted storage should disappear.
How to Restore Storages
To be able to restore storages you need to enable the filter.
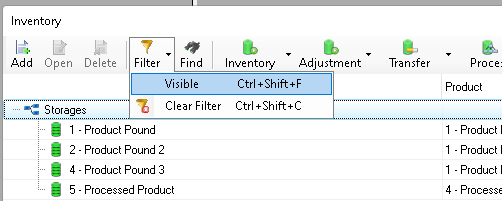
To do so click Filter -> Visible.
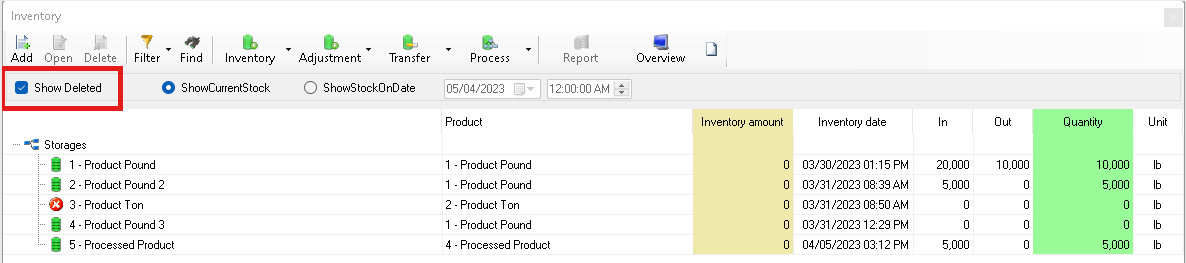
This will add the filter line to the window and you want to make sure Show Deleted is selected.
Deleted storages will have a red circle next to the name.
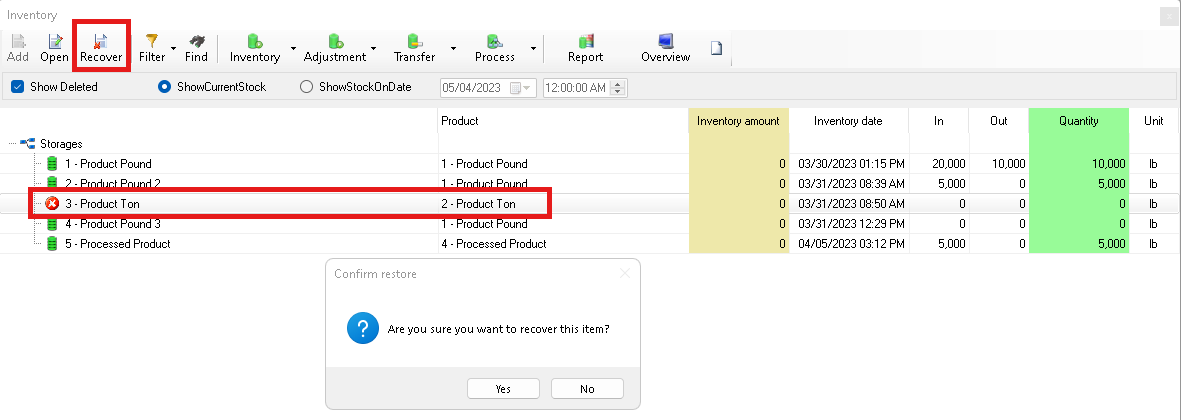
Select a deleted storage, this will turn the 'Delete' button into a 'Recover' button, click the recover button and confirm.
How to assign Tickets
When creating tickets you should now see a 'Storage' field at the end of the 'Product name' field. This field will display which storage this ticket will be assigned to.
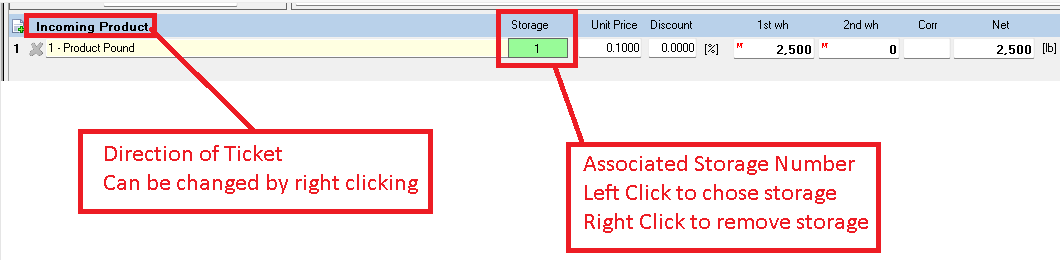

By left clicking you can select a different storage. It will only display storages that matches the product. If the field has a number the net weight of this ticket will be added or subtracted depending on the direction.

By right clicking and remove the storage. If the field is 'N/A' and red, the ticket will not be assigned to any storage.
Tickets need to be finished to be added to storage.
Reports
Advanced inventory offers 2 reports, one being the Reports button and the other being the Overview button. Reports can be modified and/or others can be created and run from the Reports section of the software.
Overview
Let's start with the Overview report, this report is pretty simple and will display all the current storages that are not 'Quantity' 0.
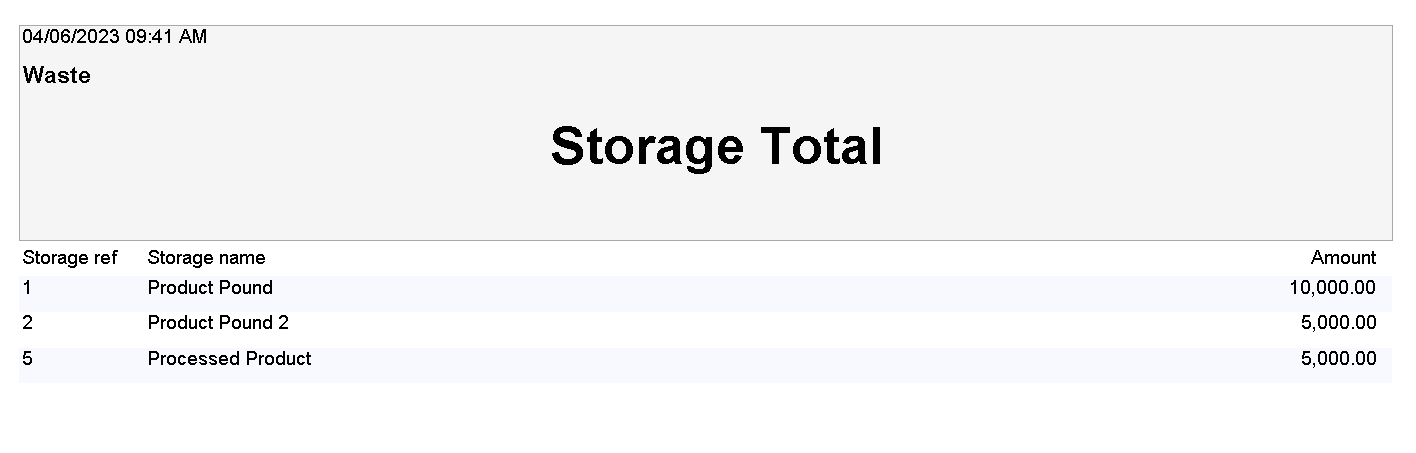
To run this report simply click the 'Overview' button.
Report
The Report button will show you more detailed what transaction have been done on the selected storage.

To run this report select a storage and click 'Report' button.
Some reports might need adjustments made. If you need changes made to a report send us an email at support@scaleit.net