
Setting up / changing printers in Weighing System
When you're using the Weighing System application and need to print, you'll be happy to know that setting up and using printers is a breeze! In this article, we'll walk you through the simple steps to get your printer up and running in no time.
First, make sure that your printer is connected (plugged in through the USB port) to your computer and is turned on. If you're using a wireless printer, make sure that it's connected to the same Wi-Fi network as your computer.
- Open the "Settings" app
-
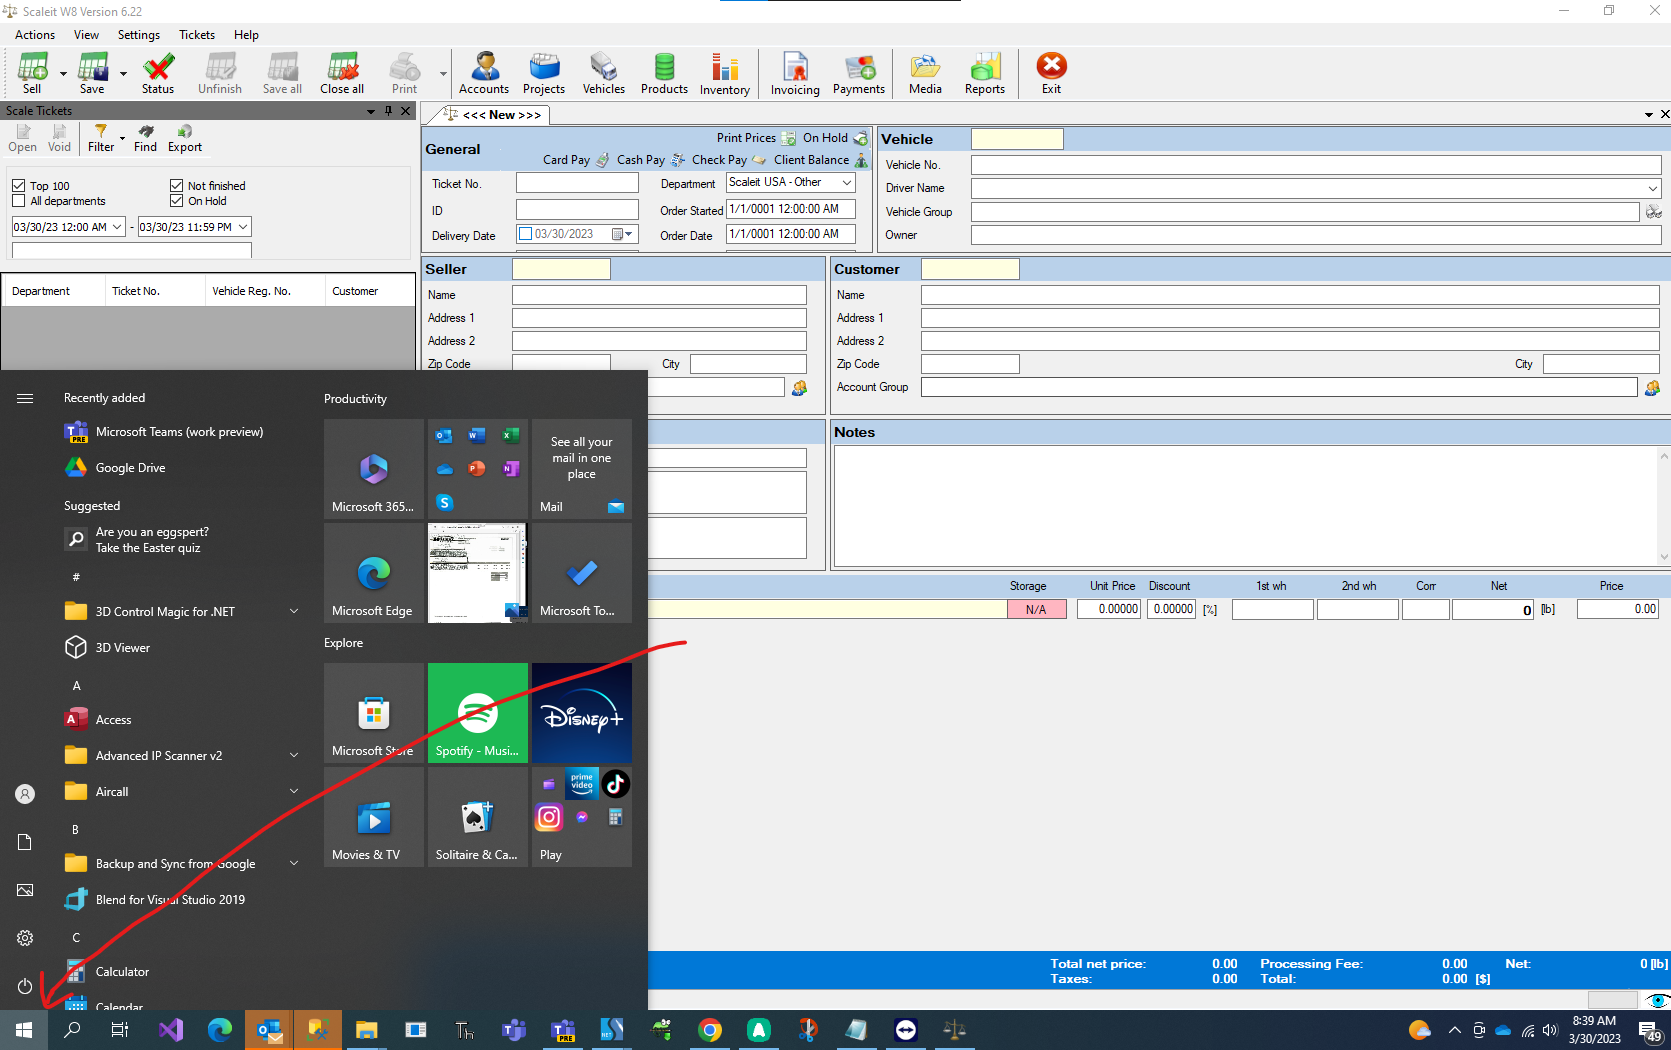
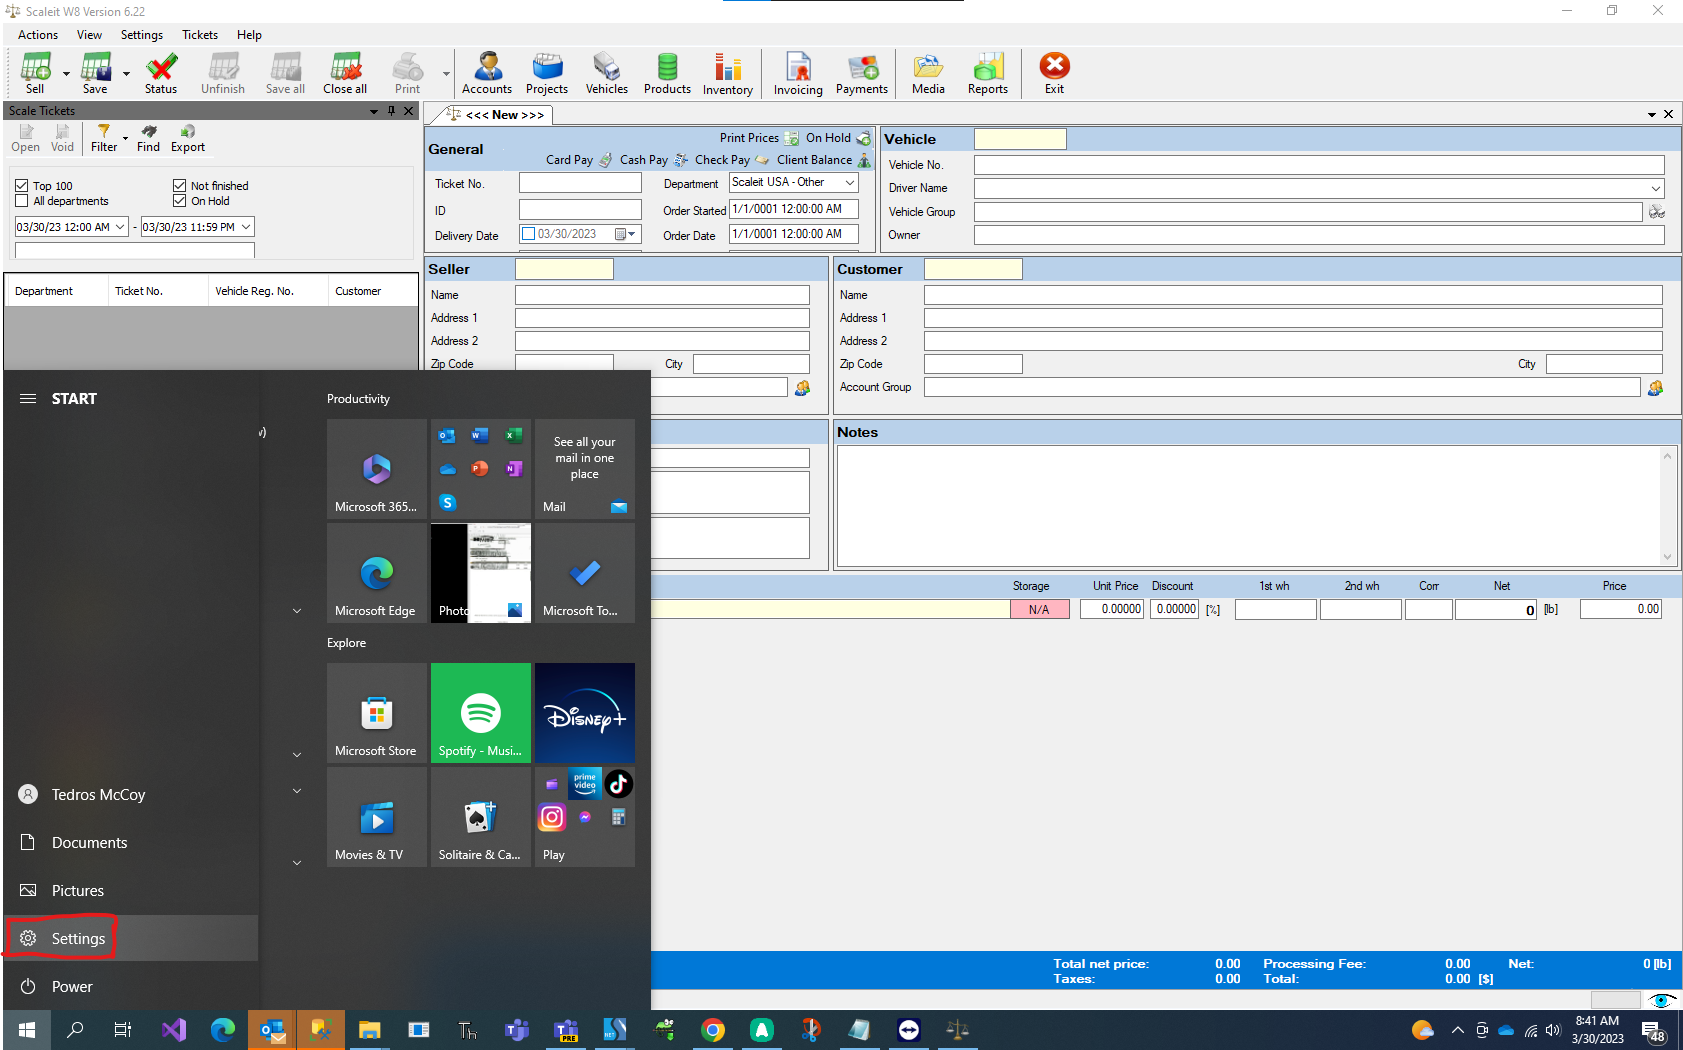
- Click on the Windows "Start" button in the bottom left corner of your screen
- Click on the gear icon to open the "Settings" app
- Click on the Windows "Start" button in the bottom left corner of your screen
-
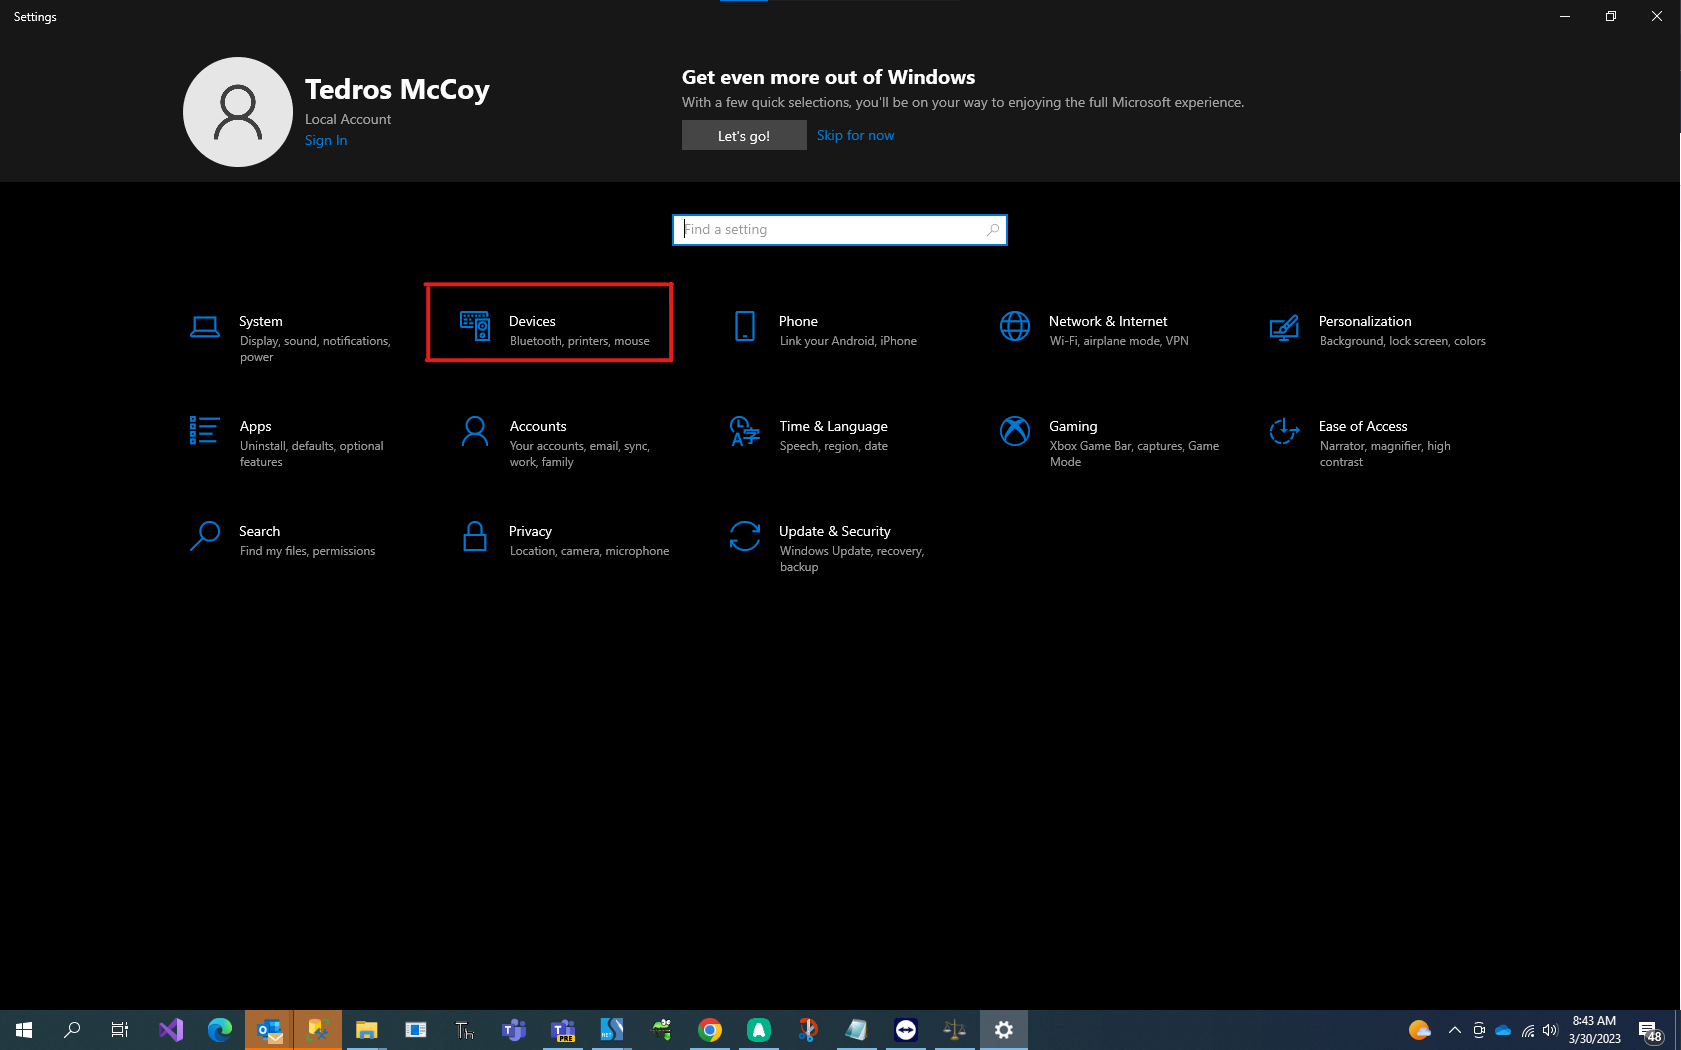
- In the "Settings" app, click on "Devices" to open the devices menu
- In the "Settings" app, click on "Devices" to open the devices menu
-
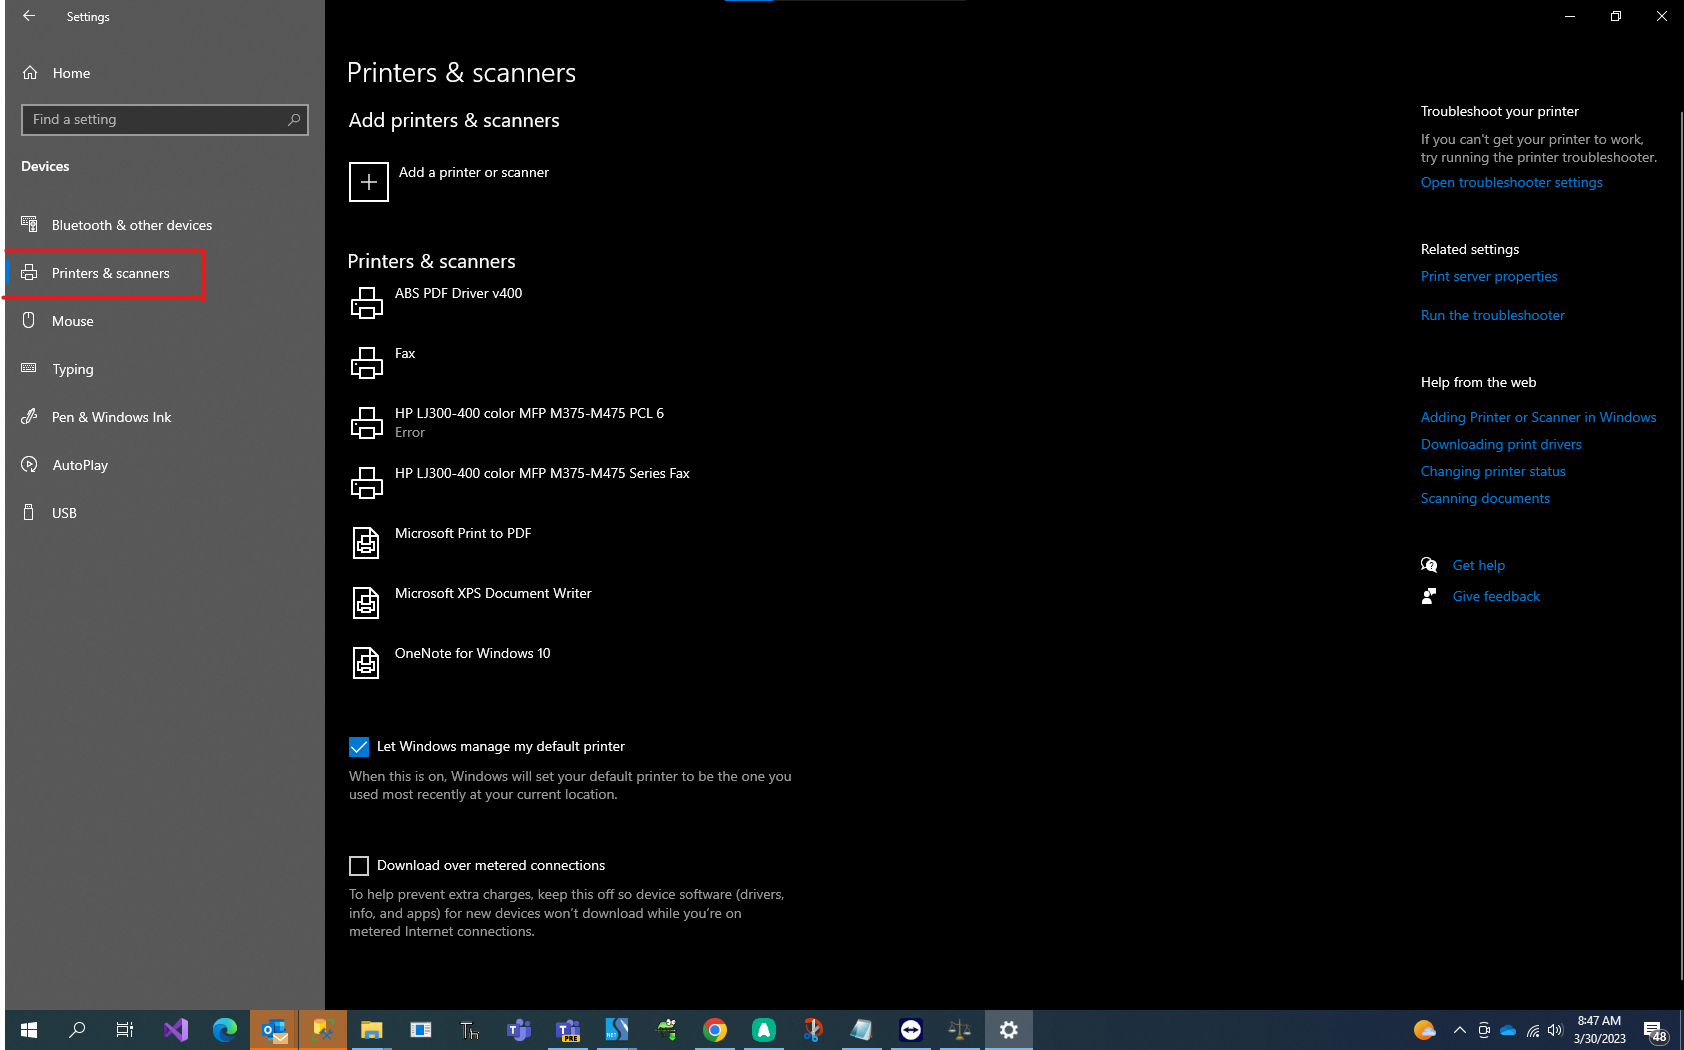
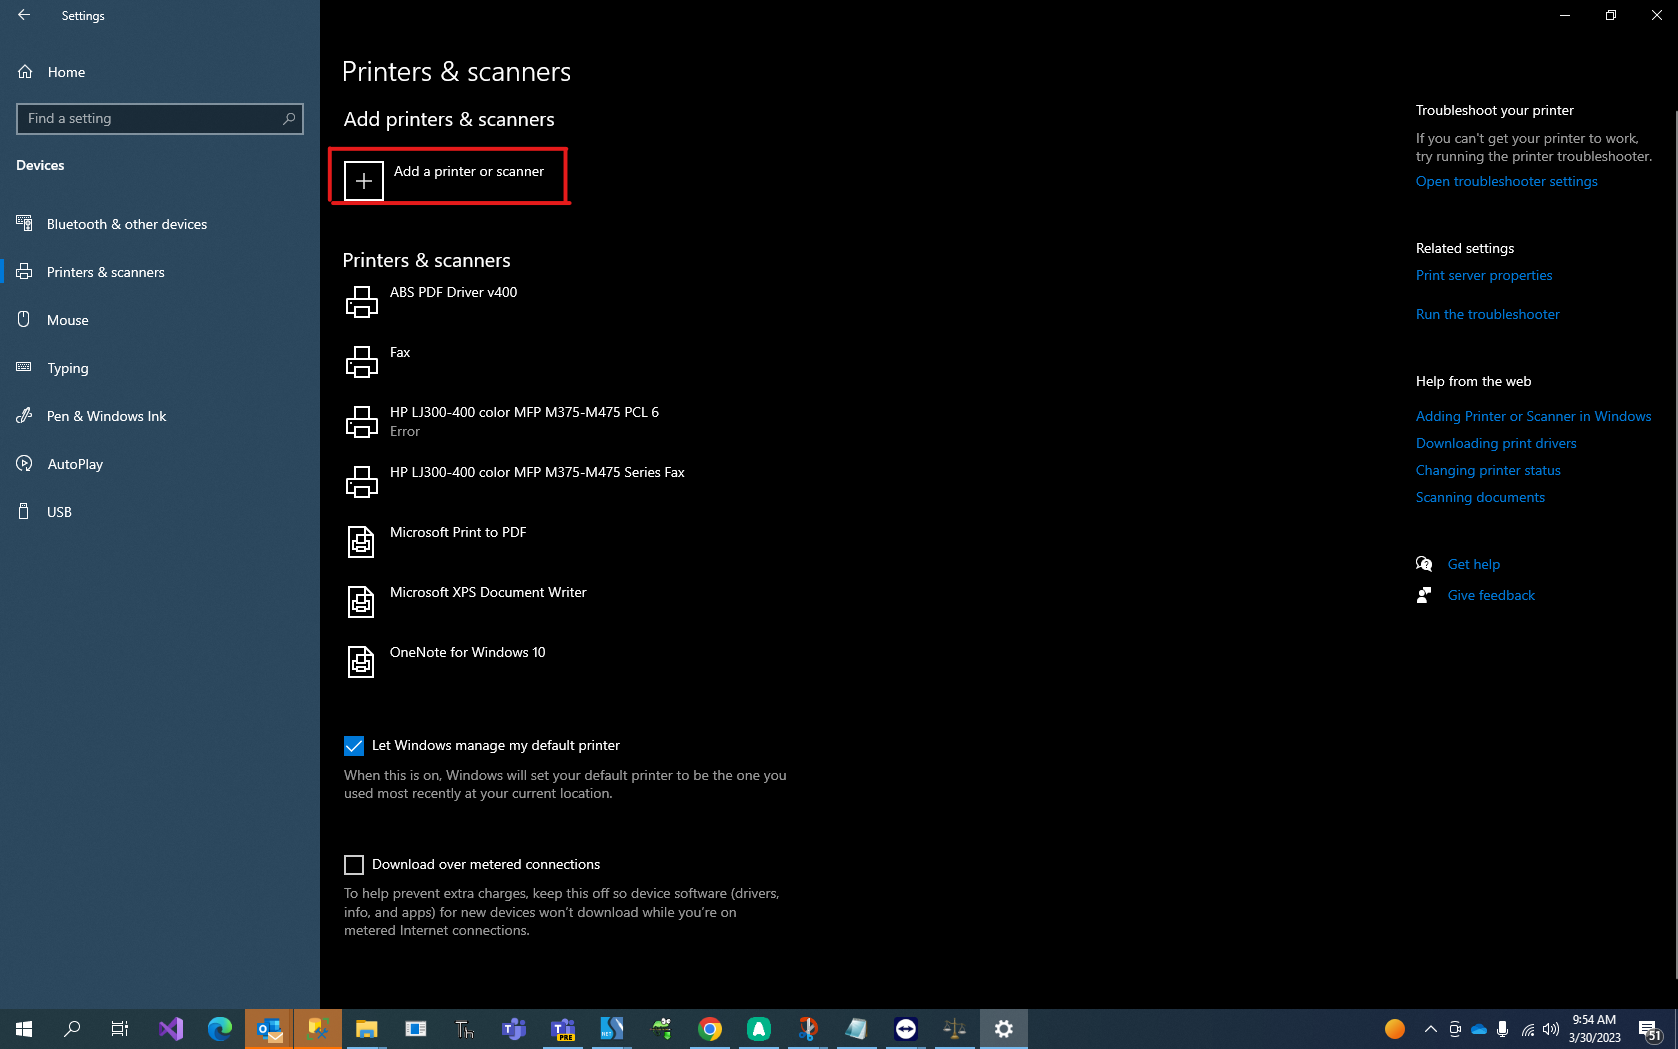
- In the devices menu, click on "Printers & scanners" to open the printers and scanners settings
- In the devices menu, click on "Printers & scanners" to open the printers and scanners settings
-
- If you see your printer in the list you can skip to step 2.
-
- If you do not see your printer under the "Printers & scanners" list, click on "Add a printer or scanner"
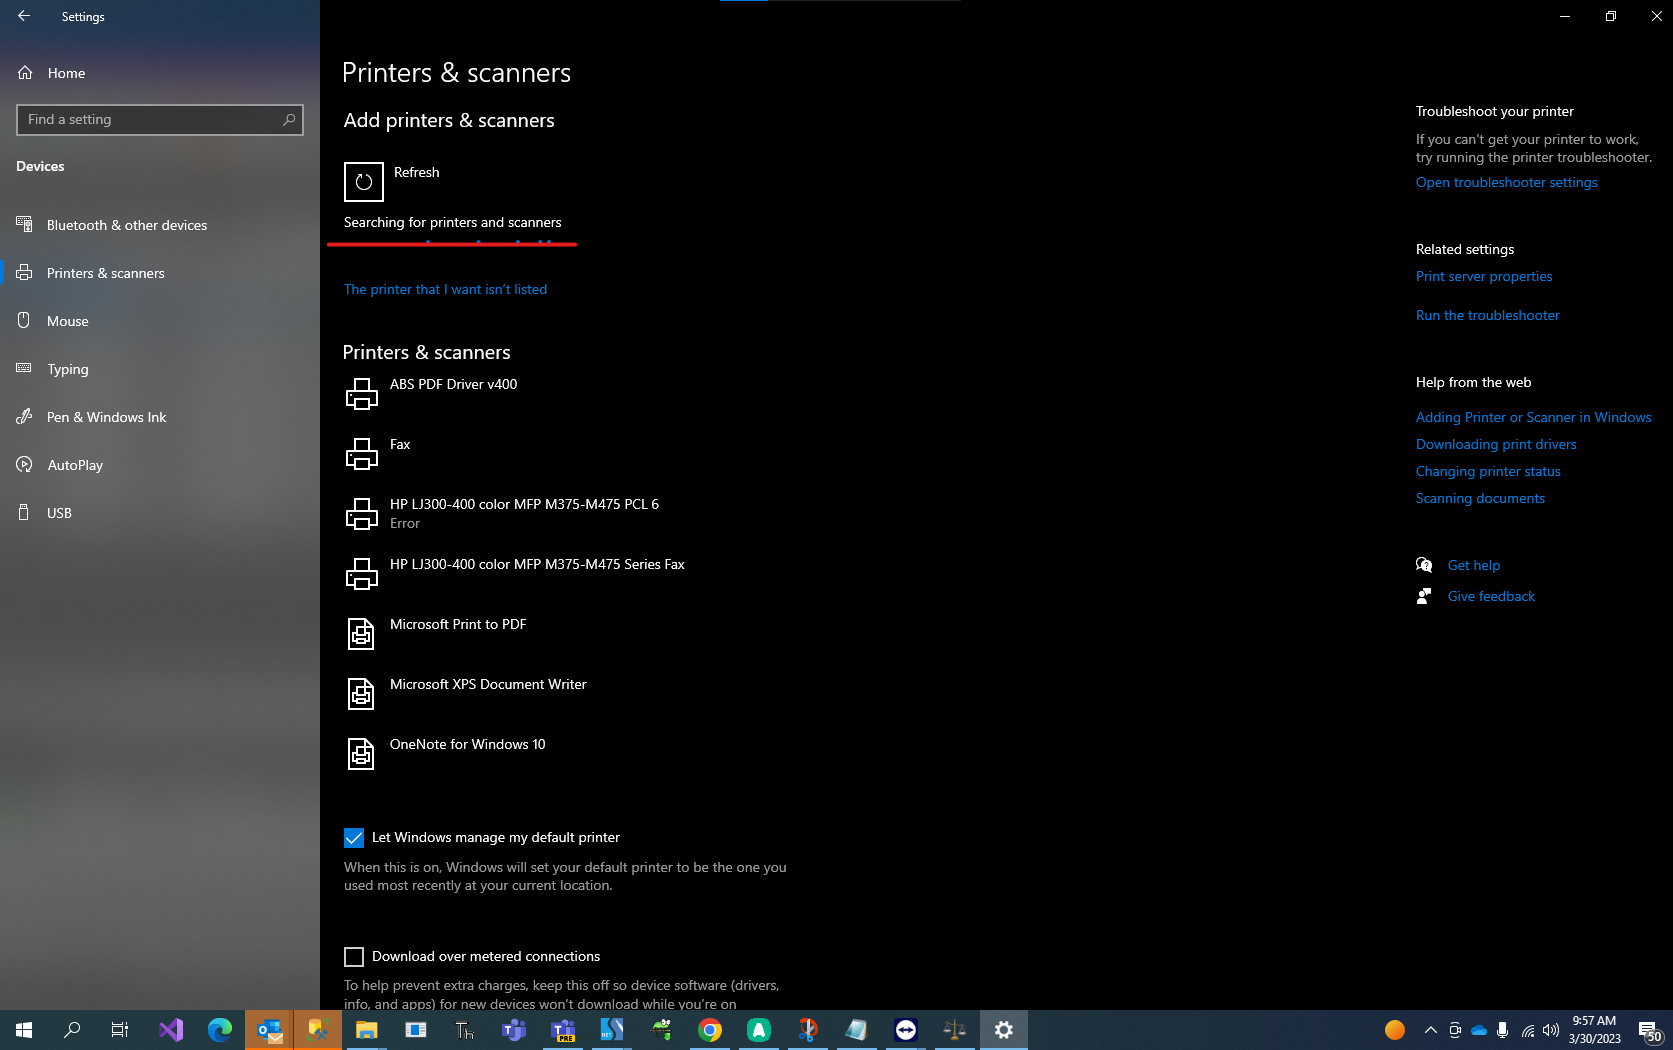
- Windows will search for available printers, so make sure your printer is turned on and connected to your computer
- If you do not see your printer under the "Printers & scanners" list, click on "Add a printer or scanner"
-
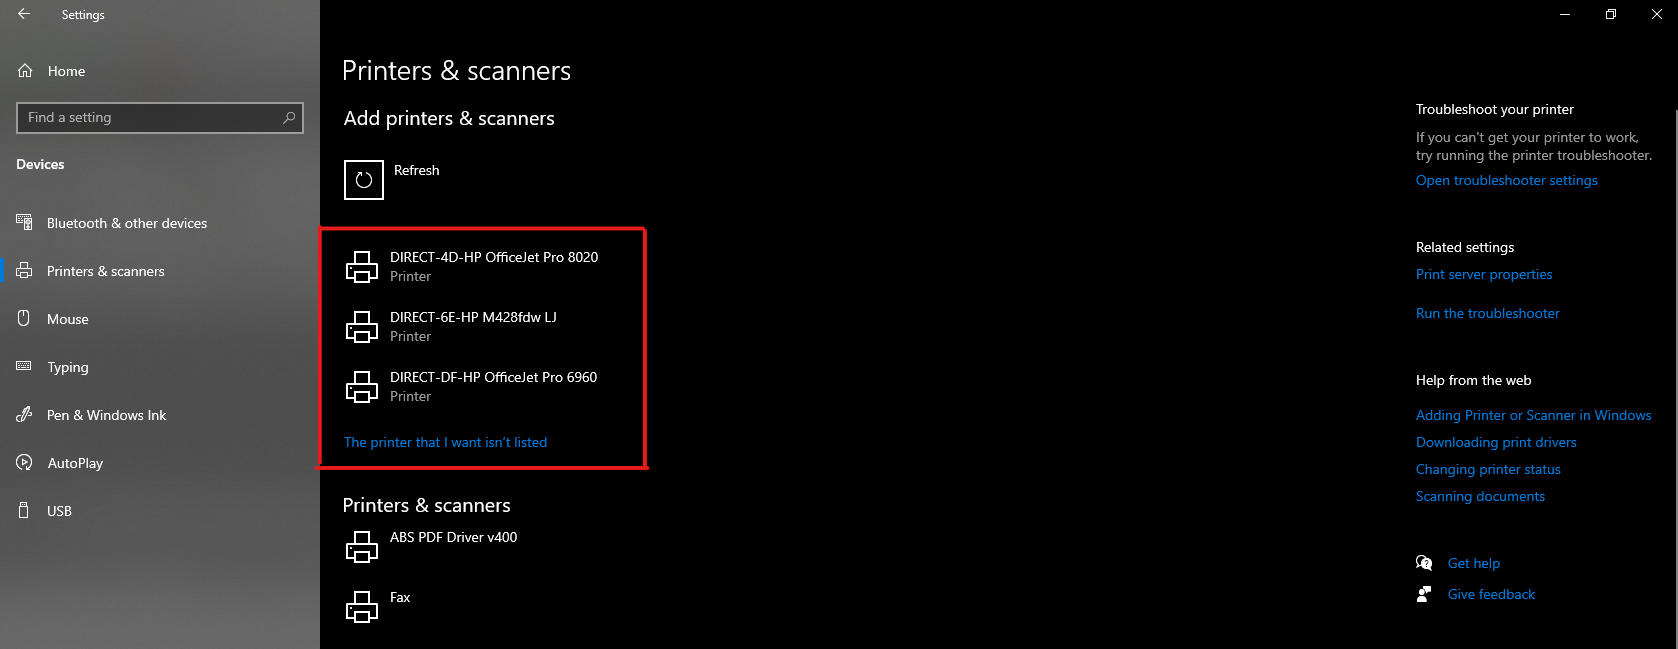
- After Windows has finished searching for printers, select your printer from the list of available devices. The name of your printer will vary depending on the brand and model.
- If your printer isn't listed, make sure that it's connected to your computer and turned on.
- After Windows has finished searching for printers, select your printer from the list of available devices. The name of your printer will vary depending on the brand and model.
2. Open up the Weighing System application and navigate to Settings.
-
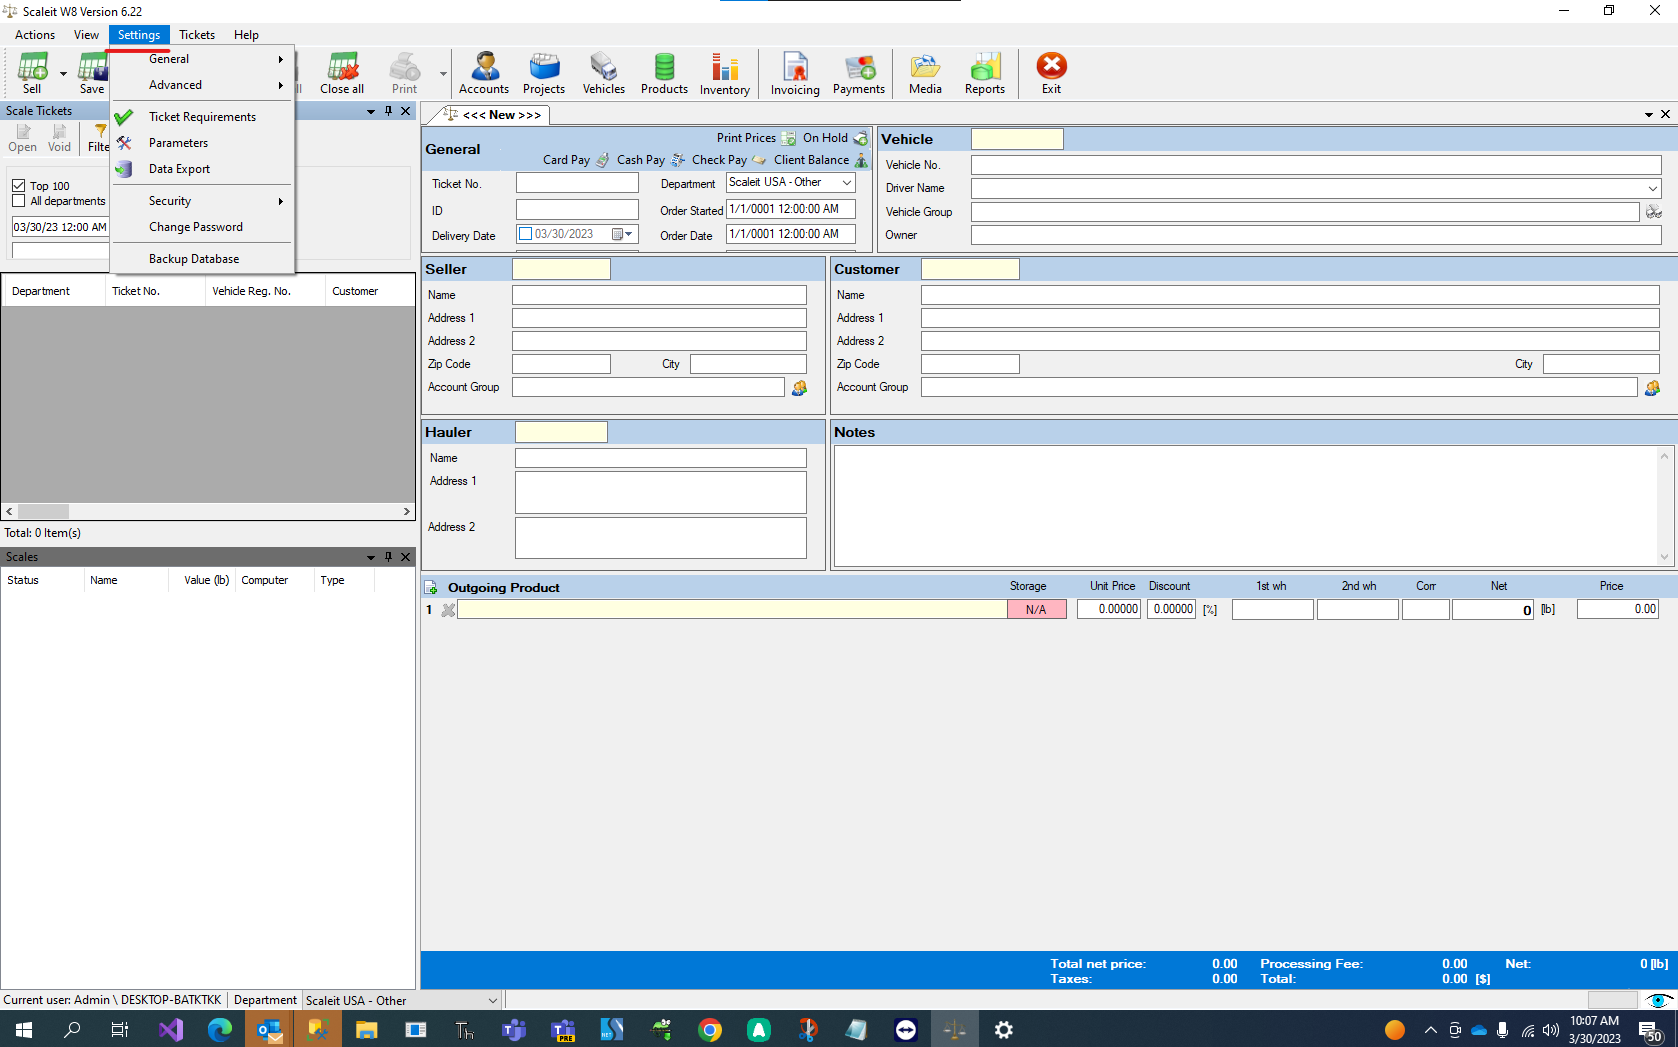
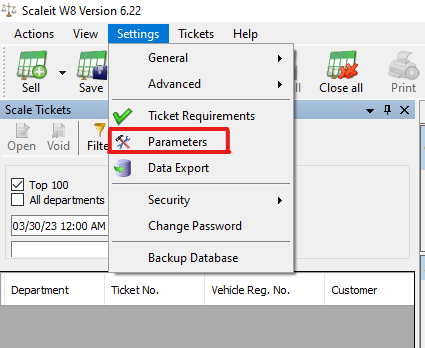
- Navigate to settings at the top left and side of the Weighing System Application.
- Click on Parameters
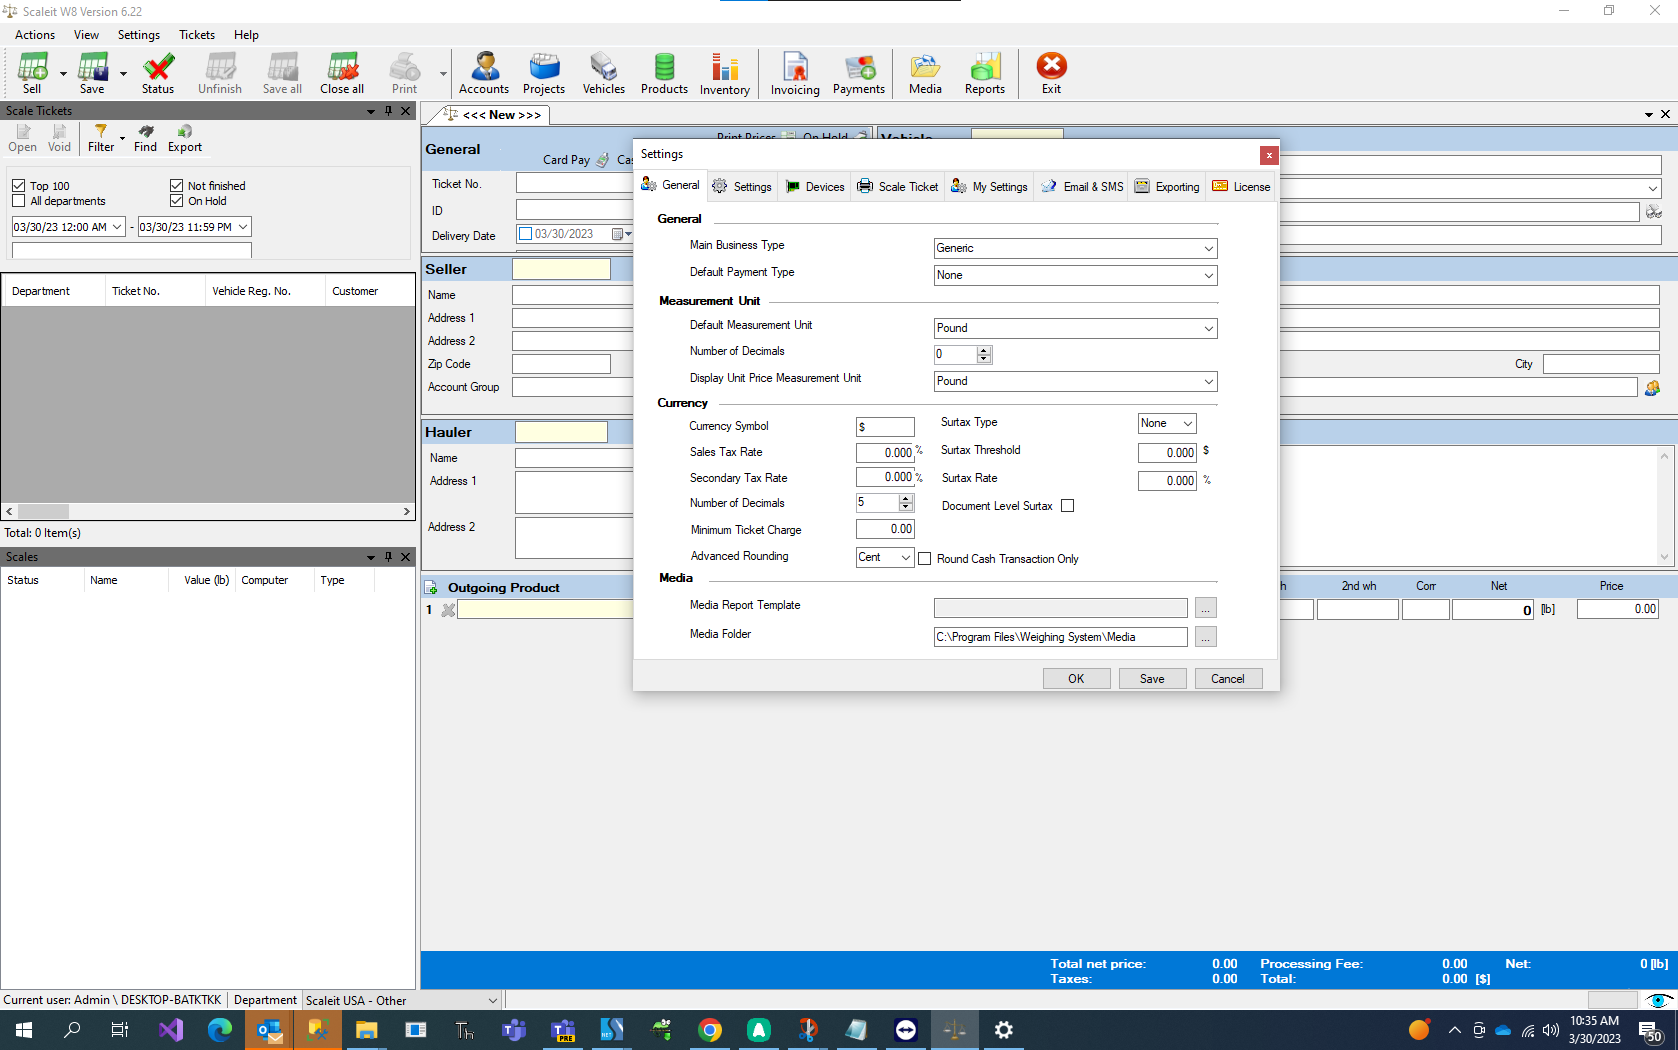
- You will see the General Weighing System settings as shown below
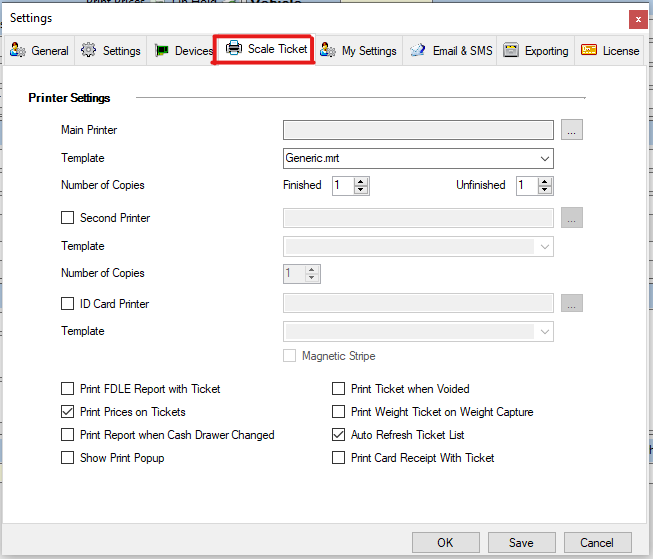
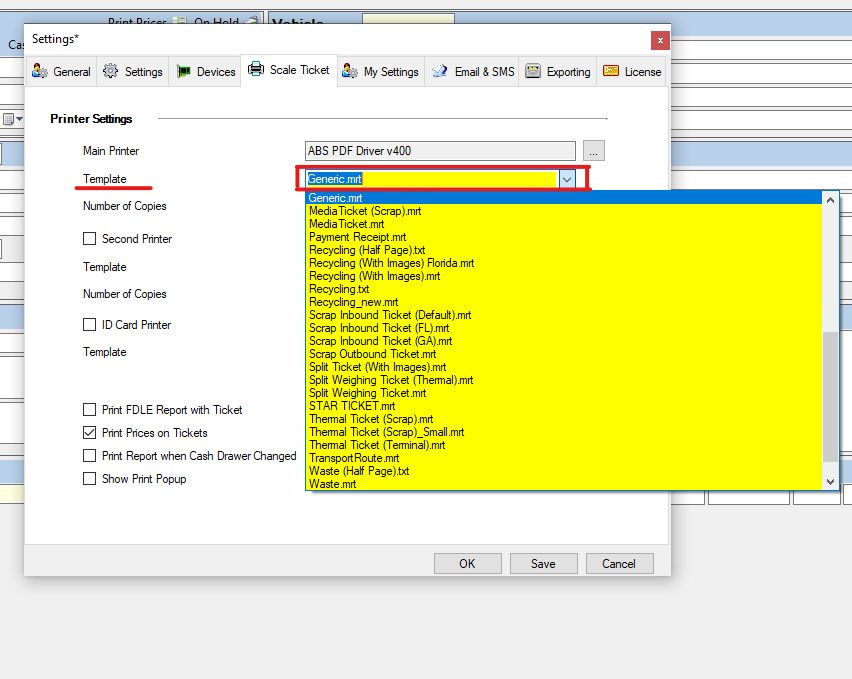
- Next Navigate to "Scale Ticket" tab.
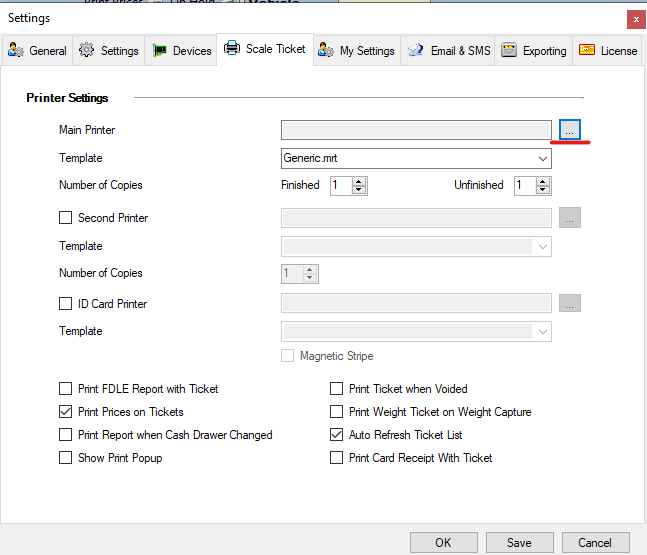
- Click the three dots to the right hand side of the Main Printer selection box.
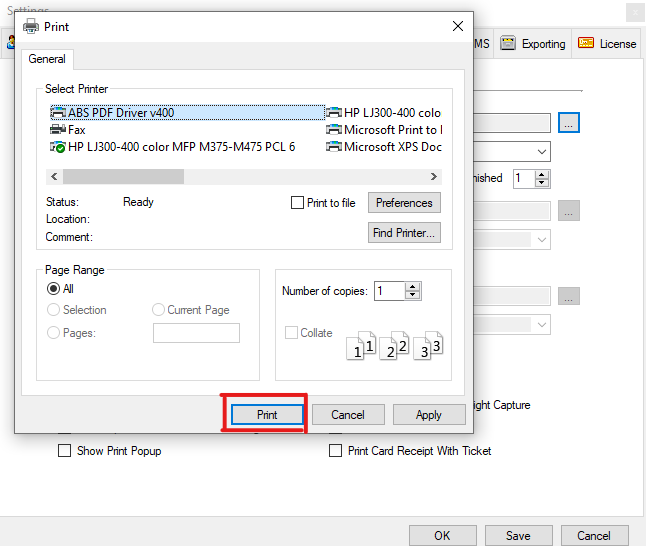
- Next you will see a list of printers. Select your desired printer and click print at the bottom of the window to select your printer. This is the same location where you can change your printer.
- Next select the Template dropdown menu to choose your ticket template.
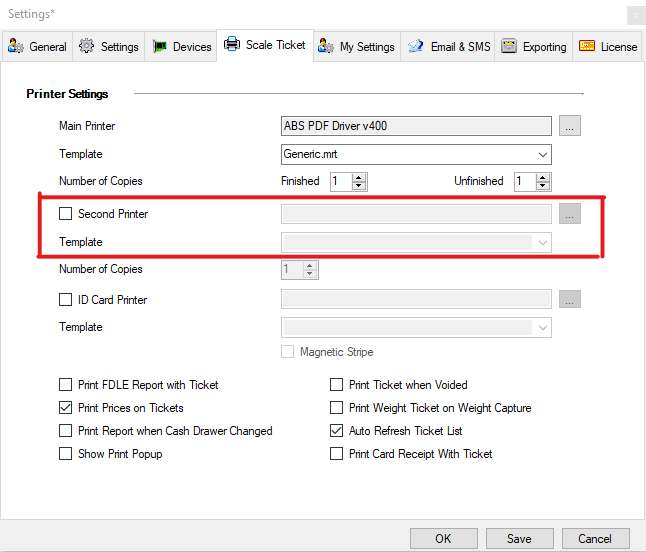
- You can also choose a second printer if you'd like
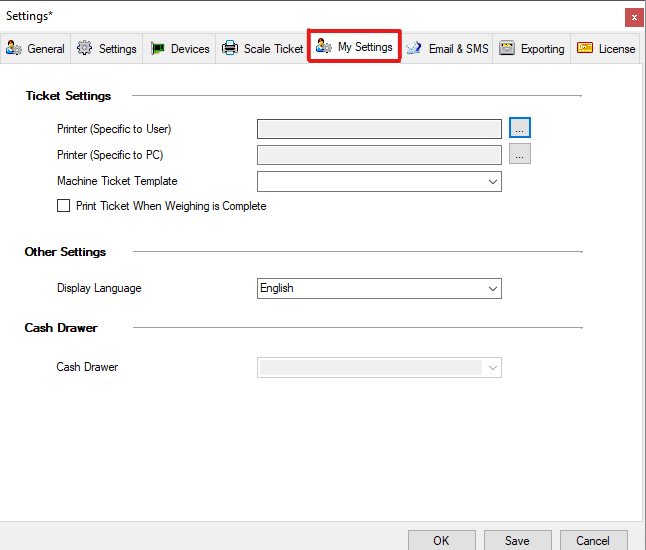
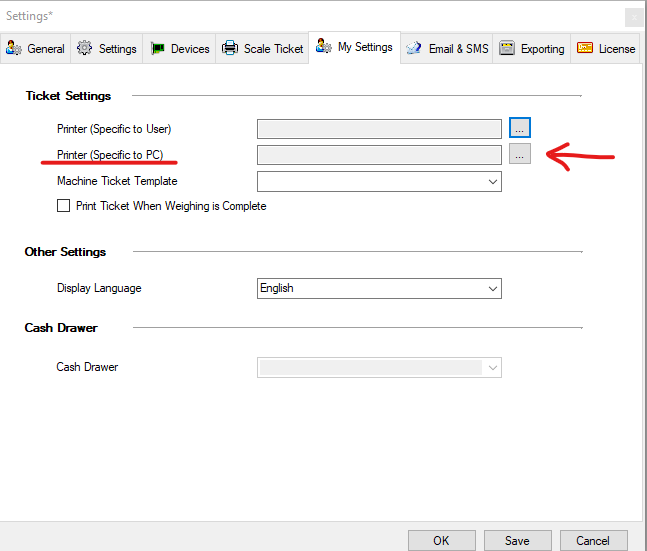
- Next navigate to "My Settings" which is to the right of the "Scale Ticket" tab.
- Click the three dots the the right of the Printer (Specific to PC) box
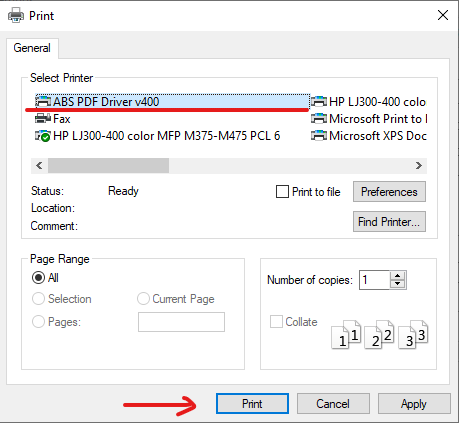
- Select your desired printer and click the print button at the bottom of the window. This will set your selected printer as the default for any user logged into your pc. You can also set different printers for each user by choosing your desired printer under Printer( Specific to User) instead of Printer( Specific to PC).
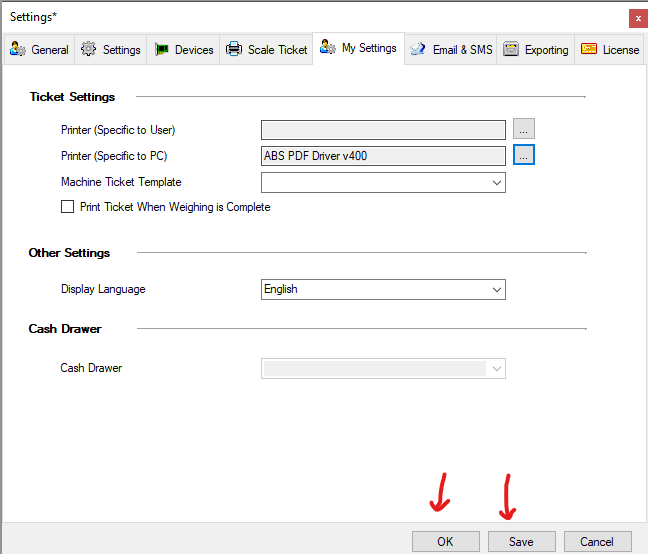
- Next click Save and then click OK to save your changes and close out of settings
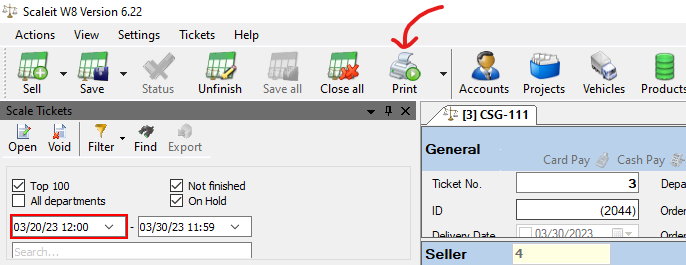
- Open up a previously finished ticket or finish a new ticket and you are ready to print. Click the Print button at the top left of the weighing system application and your ticket will print to your desired printer. If the print icon is gray, the ticket you have selected is not finished. Simply finish the ticket and you will be able to print.
- Navigate to settings at the top left and side of the Weighing System Application.

That's it! You have successfully set up/changed your printer in Scaleit W8.